Friday, January 9, 2009

I Made Loud Shoes

Ever wondered what the Japanese used for footwear prior to western imperialism brought Adidas to the land of the rising sun? Me neither, but after noticing some odd raised wooden sandals in a couple TV shows worn by characters from such a time I looked into it and discovered "geta". Geta is the name of wooden Japanese sandals which are traditionally made of wood and are raised on two blocks (called teeth or ha). There was a time when the streets of Tokyo would have been alive with the clacking of people doing their thing in these shoes, and there are stores from elders who have fond memories of the din of people walking about in these.

There are tall geta for when it rains, different designs for men and women, and many variations from simple to elegant. I never knew I'd get so interested in a pair of shoes but here I am. I decided that it would be neat to have a custom-made pair of geta and when I stumbled into an online calculator for the measurements you need I printed out my measurements and the printout sat in my school folder for some months. I pulled it out yesterday though and went about getting a pair made.

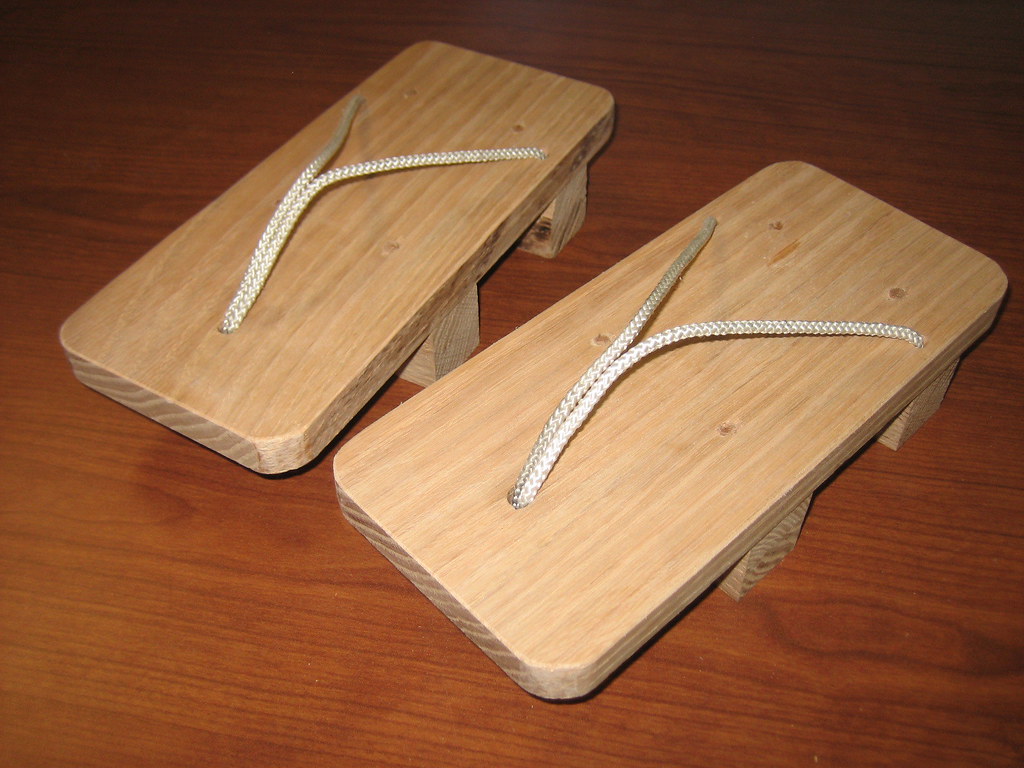
They're a pretty simple piece of footwear to look at them: flat rectangular sole, two ha and a cloth thong to keep it on your foot. As with many things though the devil's in the details. The distance from the front ha to the tip of the geta gives you the lean your foot needs in stride since the sole doesn't bend with the foot so this measure is important, as is the height of the ha, width, length, and placement of the thong. With normal flip-flops, the thong is placed where the big toe is, but it's in the middle on geta. This lets it shift to the side while walking and keeps the square backs of the shoes from hitting one another with each step.

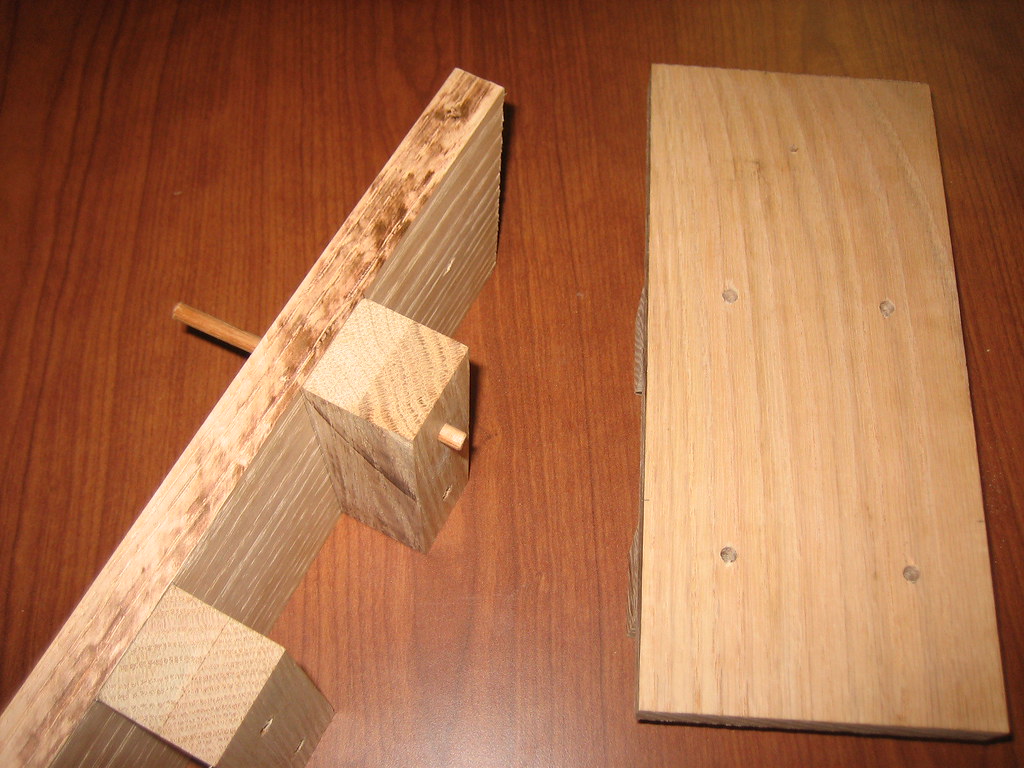
Anyway, on to the pair I made. They're red oak, cut to size and glued with 1/2" red oak dowel drilled and glued into ha and sole to firmly tie them together. The thong is made of nylon rope core for strength. If I make any more it will be with a 1/2" sole since the 1" red oak sole is much thicker than needed.

I made an instructable detailing the whole build so check it out if you'd like more detail on how to make a pair.
Wednesday, January 7, 2009

I Made a Dinosaur


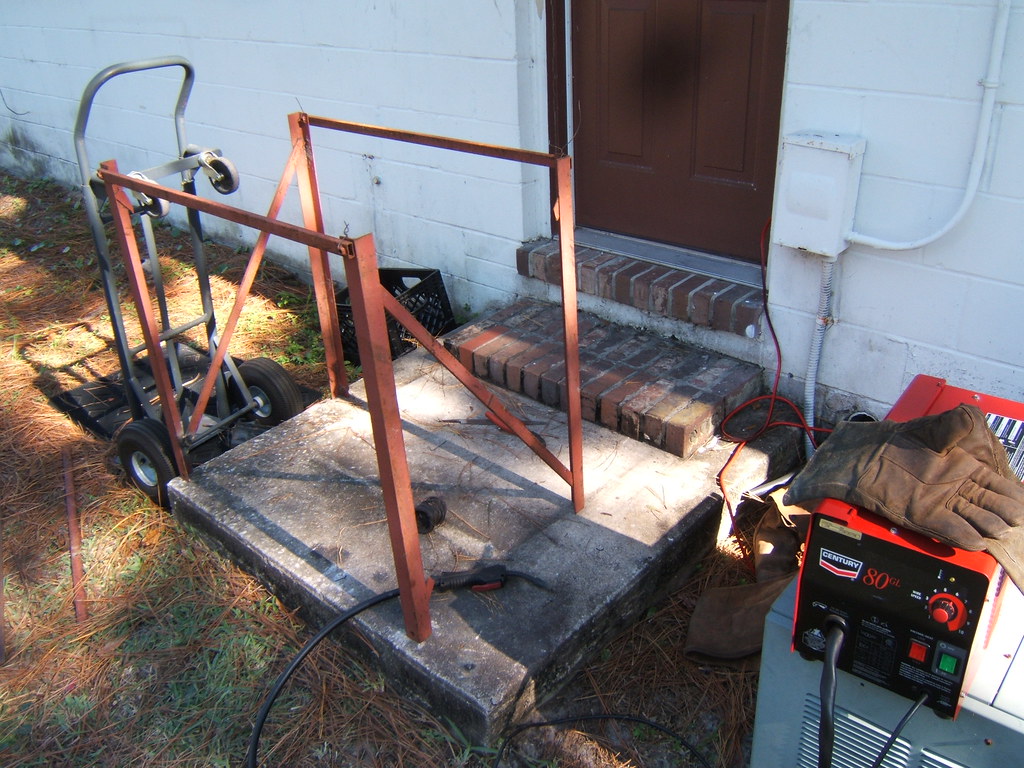
After getting pretty decent with a welder, and seeing my scrap pile behind the shed grow large enough to support making something interesting, I set about making something from the cornucopia of scrap steel I'd collected.

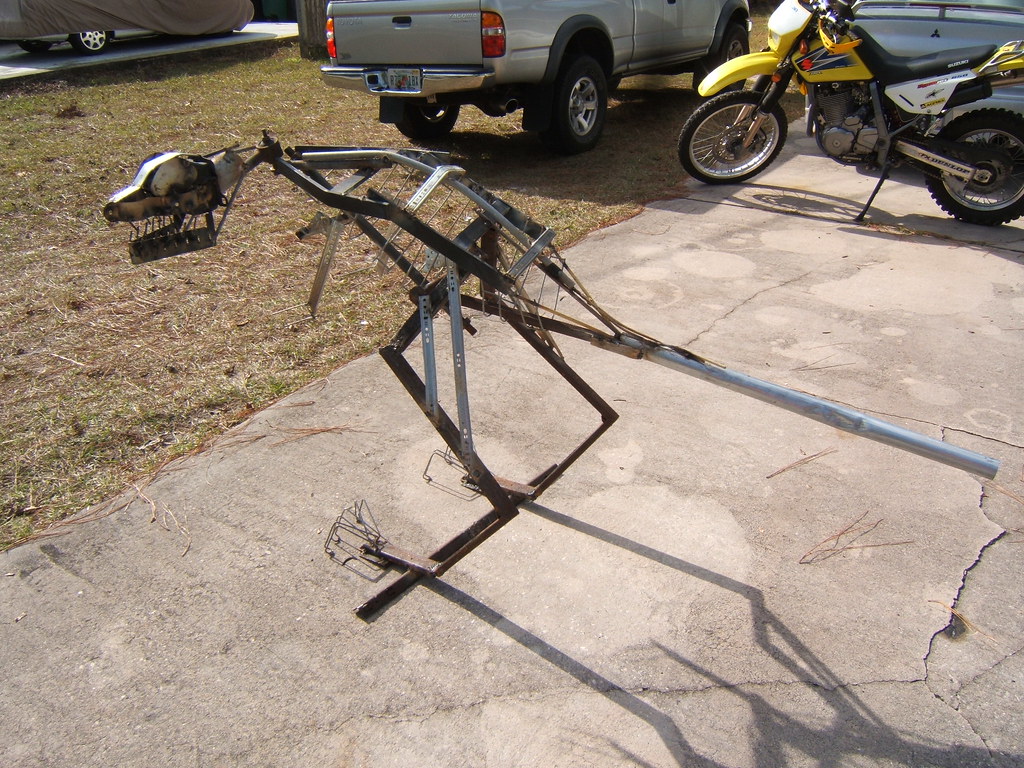
I had a rough idea of a bipedal dinosaur or dragon in mind, but no specific plan or places for pieces in mind (points for alliteration?). I began with the legs, using the welder to very inefficiently cut the metal that would become the legs, then welded the feet to the base, held the ankle/lower legs in place, and tacked them down. Then I did the same for the femurs. I added the back right over the legs, then worked on the basic back outline, adding reinforcements to the tack welds and making sure to keep the whole thing balanced.

Once I had the basic body shape done, I started adding more detail like the ribs, toe claws, and leg pieces. To shape the curve of the tail, spine, and other larger parts, I simply beat dents into strategic parts of the piece, then hit it on a tree to get the curve I needed, which wasn't a very forgiving process on the hands even in welding gloves. While doing all the welding and grinding on paint and rust I got plenty of odd and scared looks from the rabbits in their pen.

I then needed to decide how to make the head and whether to make a dragon's wings or a dinosaur's arms. Since my stockpile was getting somewhat puny I decided to go for the latter, using drawer rails with locking latches to give the arms some range of motion. Then I began working on the head.

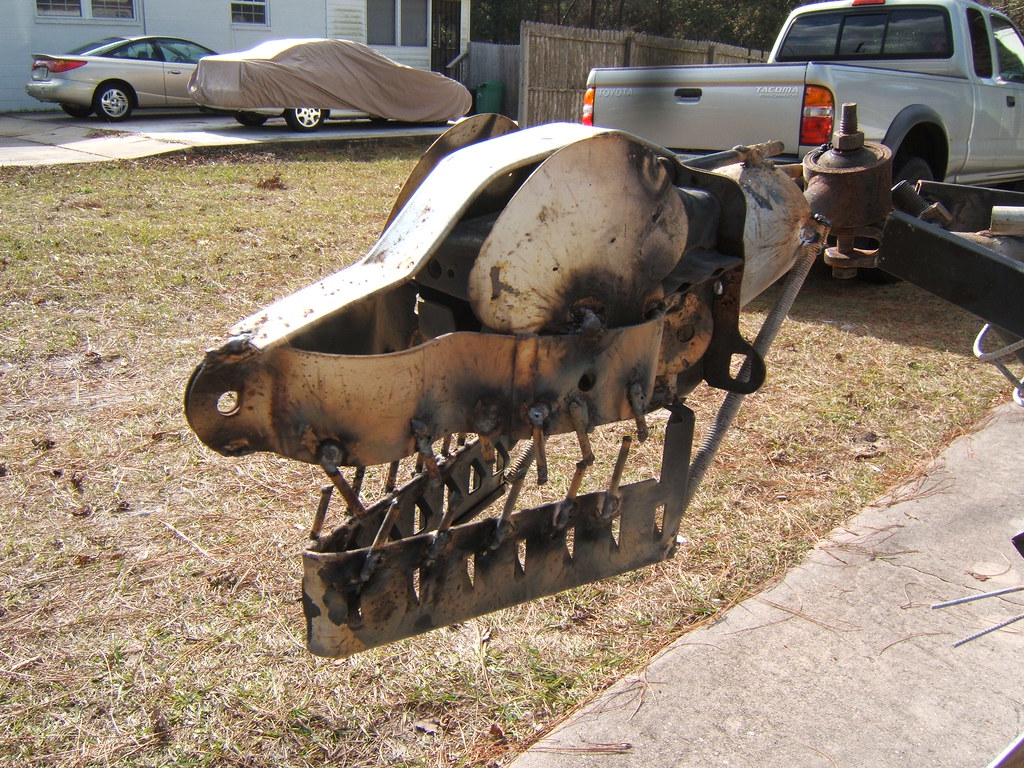
The head consists of some steering linkage, a bumper mount from, a rack-mountable spacer for the lower jaw, pieces from a lawn-ornament of a happy little man that had wound up on my neighbor's trash, and some political sign supports for teeth along with other bits of scrap. The tilt of the piece the head bolts to makes it lean to the left, which looks good with the rest of the t-rex's posture. After riding around for a couple days with it strapped into the bed of my truck I'm not sure what to do with it, so it stands guard at the front door for now.

EDIT 4-17-10:
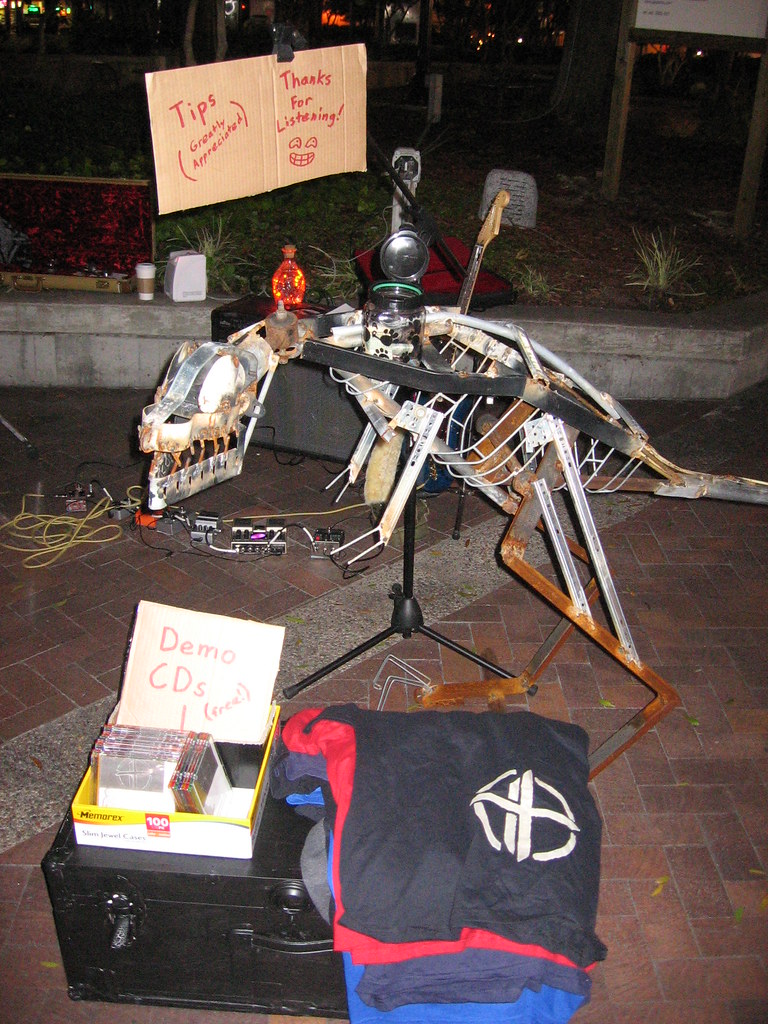
Since making him, the steel dinosaur has seen music and art, and has also had a few color changes. Daniel and the guys of the band Anderdown (of which I was part at the time) brought "ROFL-saurus" to a show at Jacksonville's downtown art walk when we played. ROFL-saurus may have gotten more compliments than the music.

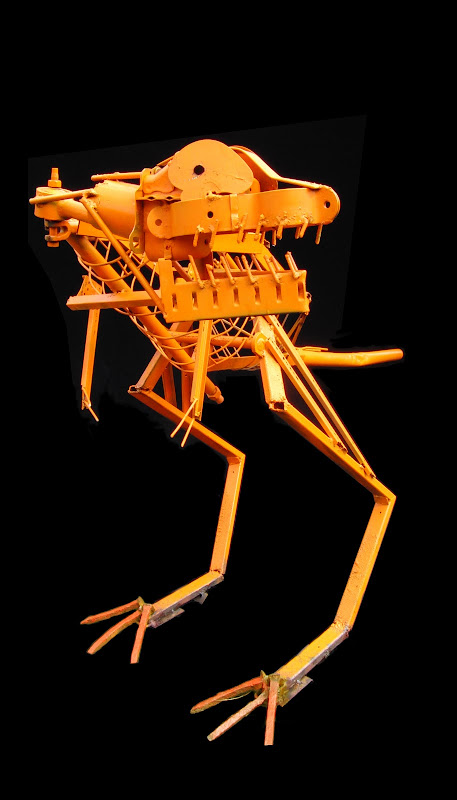
Some time after that I painted him brown and black to keep him from rusting too badly, but when Halloween came along I decided it was time for a more seasonal color. BRIGHT ORANGE! He had a few problems with the toes being too thin and breaking off, so recently as I was working on the archer my friend Barbara brought me some railroad spikes and tie plates. The spikes worked out great for new super-sturdy toes and with a fresh lick of orange pain to match things up ROFL-saurus is gracing the front yard, being stalked by the ever-steady aim of the archer and getting funny looks from the neighbors. Barbara was even awesome enough to come take and put together some nicely backdropped photos photos of the archer and dinosaur.

Tuesday, December 16, 2008

I Made Stuff for Rabbits


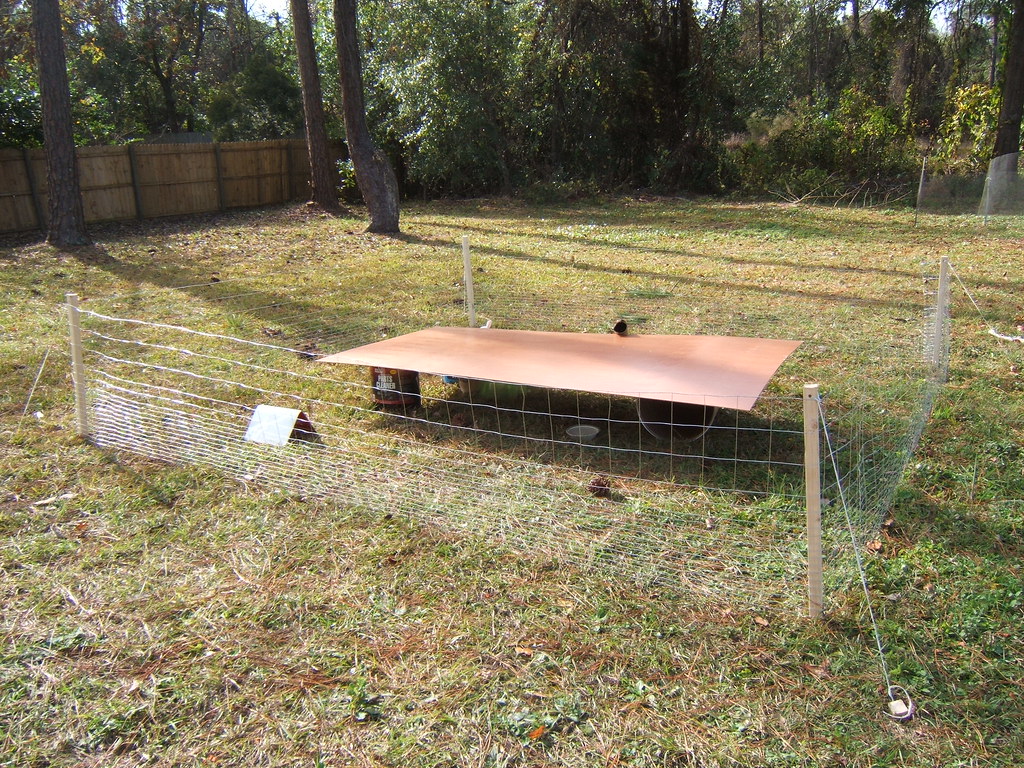
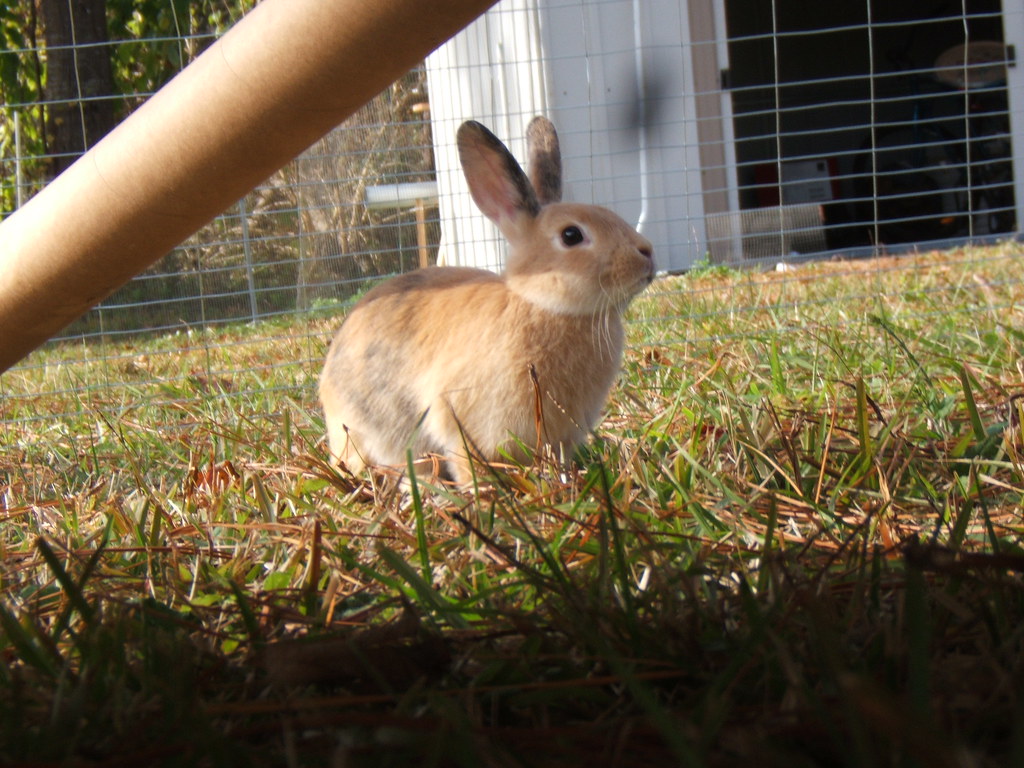
The other day I got a bunny, so did my roommates. They needed a place to chillax and do whatever rabbits do like poop and run away from anything that moves or makes sound (supposedly they'll get more relaxed within the week), so I got some short pen fencing from [Giant hardware emporium] and some 2x2 poles and made a pen.

With a 50ft section of fence I decided to make each side 12' long, which leaves a little extra for future patches or mess-ups during making it. I cut the poles about 1 1/2' longer than the height of the fencing, then hammered them into the ground in a square shape. I used some baling wire to hold the first end to one of the poles and brought it around each corner, trying to make sure the fencing stayed as taut as possible and bringing the bends to a square corner at the corners. Next I hammered 1' stakes into the ground at an angle to the poles, drilled holes in the tops of the stakes and poles, then tied lines through each pole down to the stake as tightly as I could to prevent the poles from sagging inward. I also hammered the stakes down flush with the ground to tighten them up some more, and help mitigate the trip hazard.

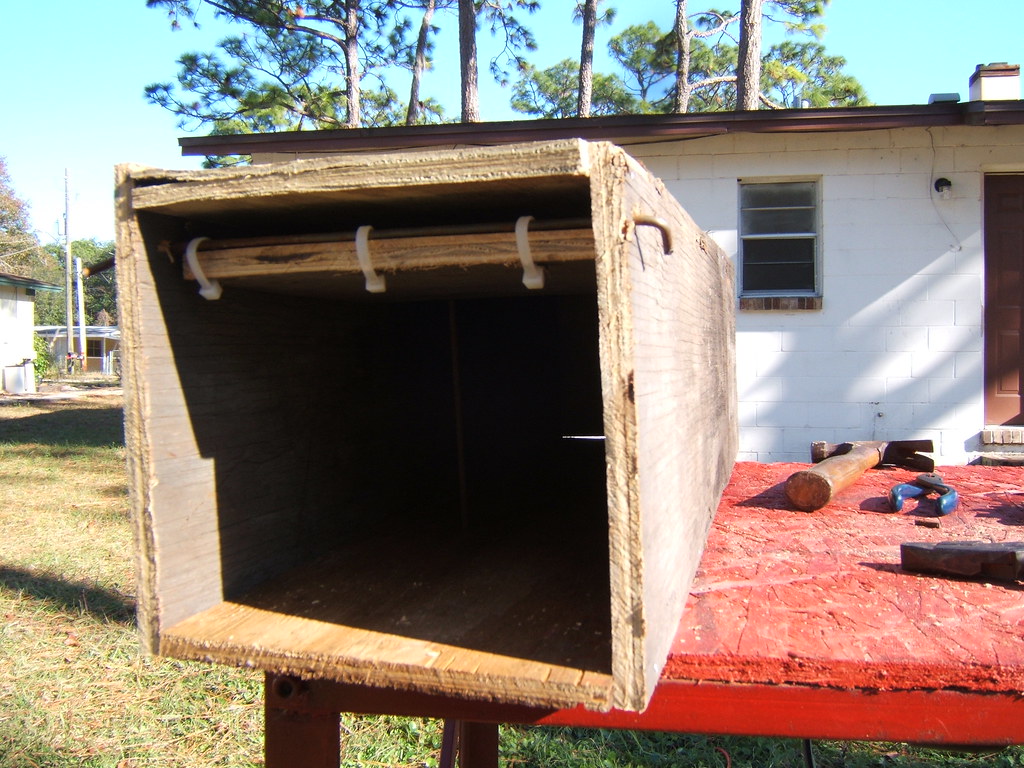
To give them some shade and cover I took a couple of metal cans and some paneling to make a lean-to for them. All seemed pretty well the first couple days and we got comfortable letting them hang out on their own for decent amounts of time, but the more skittish of the two (Bonnie) managed to push her way under the mesh and made a break for the woods when we tried to catch her. After an all-day hunt, some close calls, and a couple of days waiting for her to find her way into a trap it appears she's gone for good. The wooden box shown is my less-than-stellar trap. Maybe I didn't bait it properly. I didn't even catch a squirrel or raccoon.

I improved the pen with some metal hooks to keep the bottom tight to the ground, but the other rabbit (Dyna) also made an escape attempt; I assume by climbing over a corner. Between myself an my neighbor (thanks Mitch!) I got her back by tossing a blanket over her. My friends Mike and Sabrina got us a new rabbit I've dubbed Trillian and she and Dyna are currently making noise in the kitchen. They only get to go into the pen when there's someone around to make sure they don't cause trouble or make a break for it.

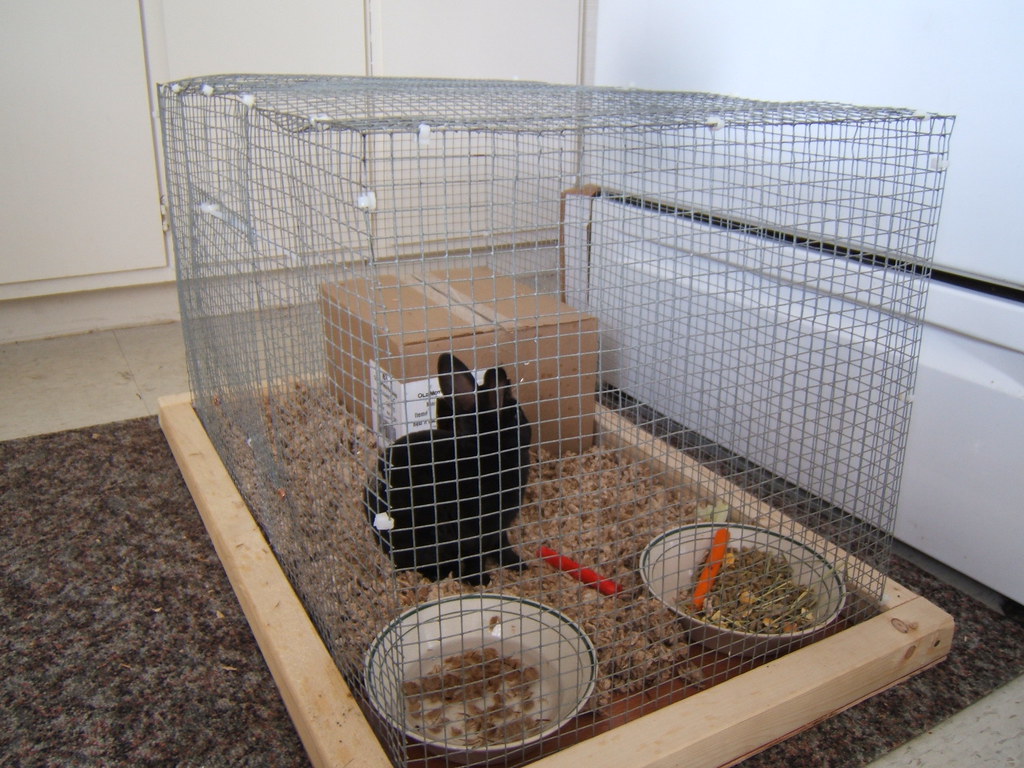
When we first got Trill she Dyna didn't take too kindly to her presence, so I had to make a separate cage for Trill. I cut some pieces of hardware cloth to about the same size as Dyna's cage, made a paneling and 2x2 base for it, and zip tied the whole thing together. It's not as good as a store-bought cage since she can toss bedding out pretty easy, but it's still nice and she won't need it forever since they'll eventually bond well enough to share a cage.

When they're in the house they need to stay in the kitchen so they can do as they like without the risk of pooping or chewing on things they shouldn't (or which our landlord wouldn't appreciate). To this end I made a couple of bunny gates for the two entryways to the kitchen. One is made from our good friends pre-finished hardwood flooring and 2x2s. That gate is just a couple 2x2s of the same height as the pen with planks of flooring nailed to it with gaps just smaller than the head of a small rabbit. The other is a baby gate Mitch was nice enough to pass my way with an added piece on either side to make it fit the wider of the two entries.

What I've learned is that rabbits need you to either spend lots of money on them to keep them happy and safe or they prompt lots of making things to do those things.

Monday, December 1, 2008

I Made GIFs


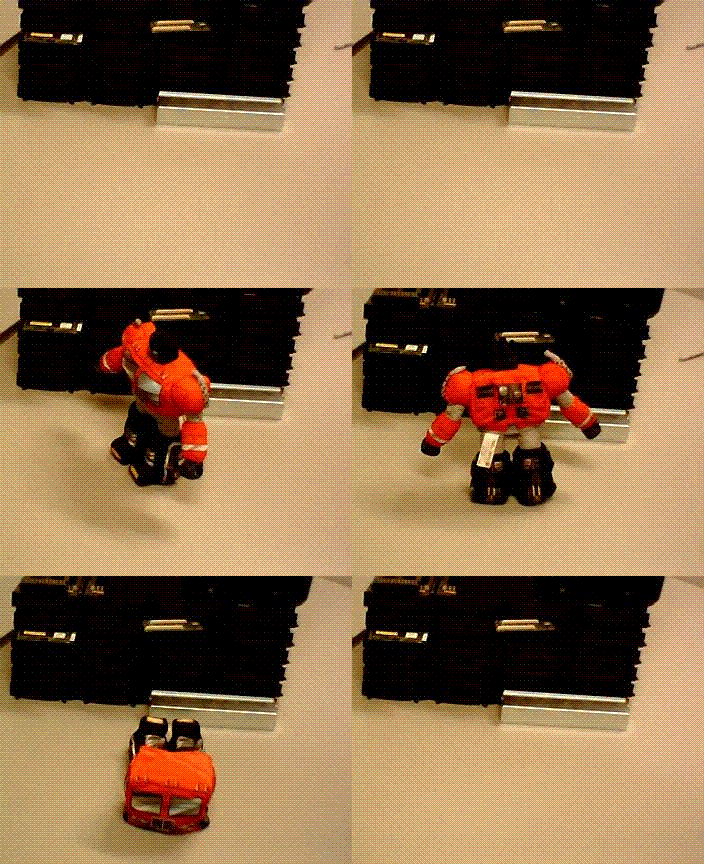
A while ago I got hella bored at work, and while wondering what to do with a super-cheap digital camera I had and an Optimus Prime plushie I decided to make a GIF with him. I taped up the camera between a box and a chair and set to work making a stop motion GIF of him walking up, transforming, and rolling out. I bumped the camera once, which kinda spoiled the effect of him doing it seemlesly over and over, but it still looks pretty neat.

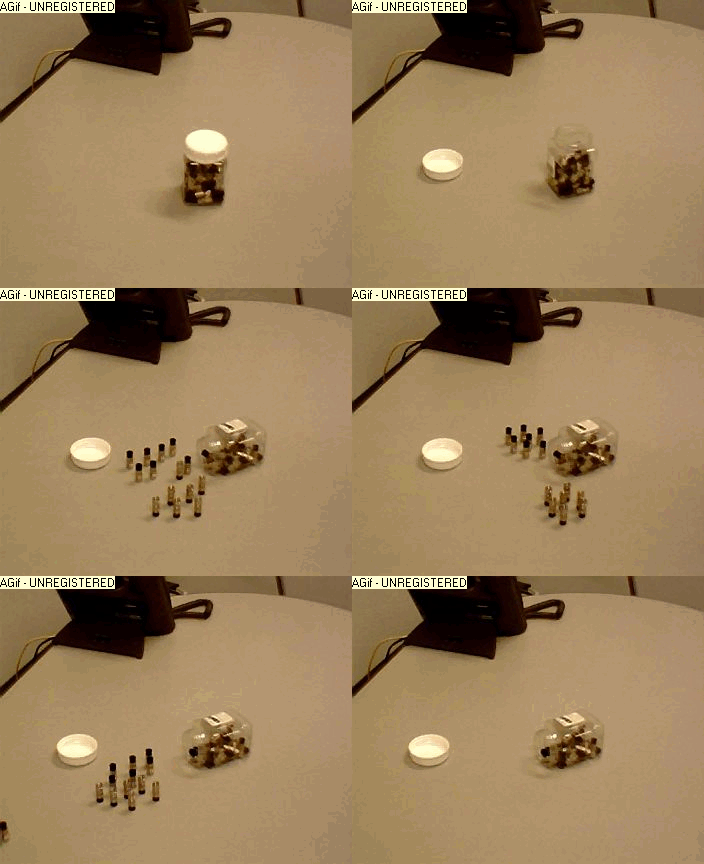
I also made another GIF of some coax cable connectors playing Romeo and Juliet. Can't you just see the starcrossed love between them? I forgot which program I used to string the photos together into a moving GIF, but it was pretty hard to find one that didn't require a good bit of skill and didn't plaster a watermark all over the end result without paying for it as you can see in one of the gifs it decided to do. I should have written down the second program I used

Sunday, November 30, 2008

I Made Metal Stick to Metal

I decided to give my new welder a go recently. It's a
small 110v flux-core wire welder and it's pretty handy for anything under 1/4". Anyway, after my dad giving me his old spare set of welding gloves and an old welding mask I struck some arcs and gave it a go.

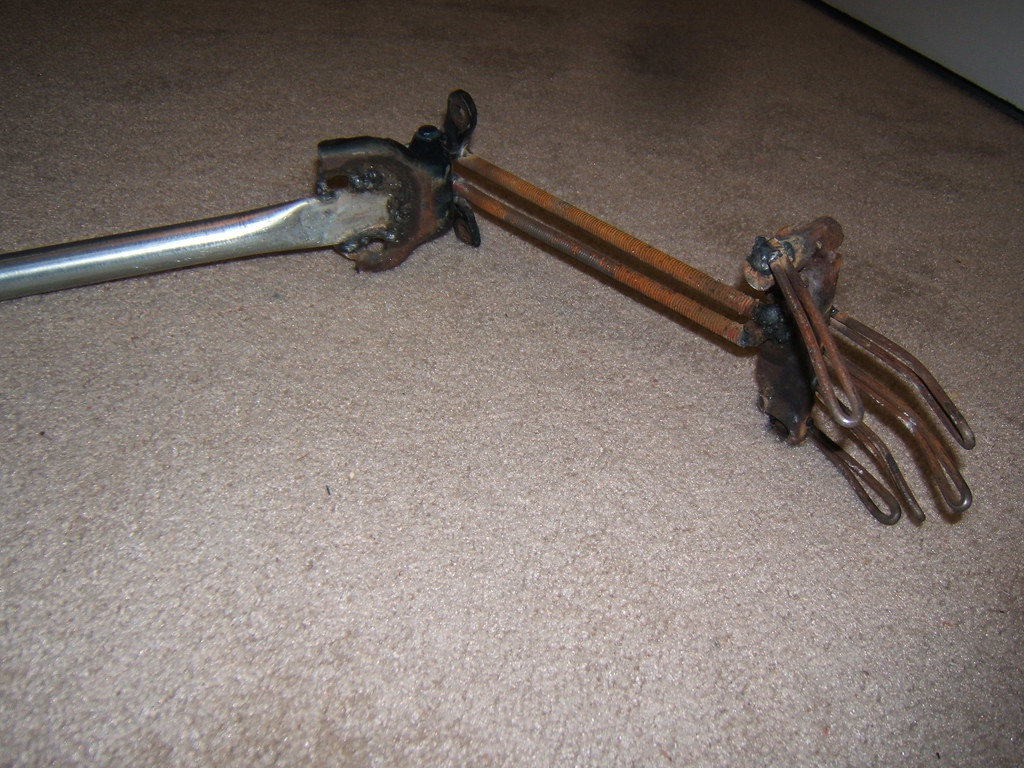
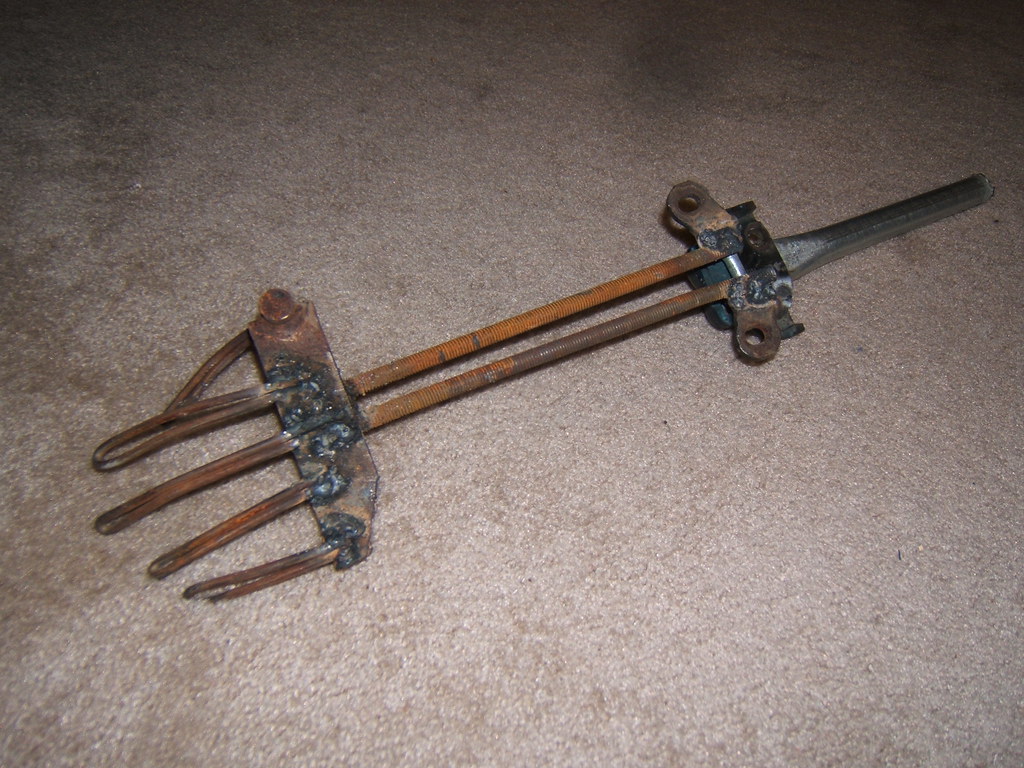
A few years ago dad had me try welding on a small trailer that needed some work. The results were a "porcupine" of welding wire as he put it, so I figured I'd have to do better this time. After getting a feel for making a few beads on a piece of scrap and burning my name through a piece of thin sheet metal, I decided to try something more substantial. Taking a pile of steel scrap I had around, I fashioned it into an arm that moves at the elbow. While half-way through working on it my roommate ordered pizza and I had to go sign for the it. The delivery guy almost fell over when I walked up with the mask, welding jacket, and one glove still on.

I also made a small metal bracket from some political yard sign metal (the same as the fingers on the arm) for my room mate so his new air filter can bolt up properly and not wear holes int itself. it's pretty much just a rod with a loop on each end welded so a bold could go through.

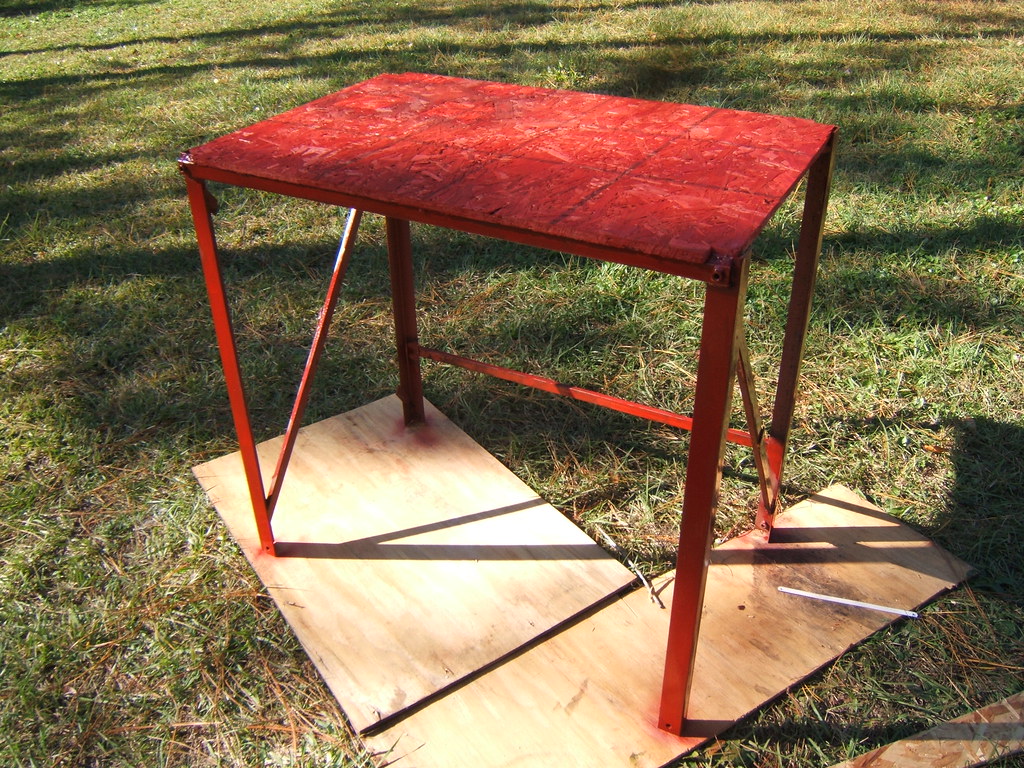
Once I'd finished the arm and bracket I felt more confident with my welds not falling apart, so I gave a shot at making a work bench. It's made of some metal shipping crate frame that I held together with baling wire while I tacked it together. It's pretty self explanatory to look at it, and sits pretty solidly, but I wish I'd had a magnetic square, as the corners are nowhere near square. Ohh well, it'll still work nicely. The table top is just chipboard and I painted the whole thing so it won't rust or peel too badly. I'm probably going to make it so I can bolt my Skil-Saw to it and use it as a table saw. I'd also like to get a vice mounted to it as well. At the moment the whole thing is just holding up my

Sunday, November 9, 2008

I Made a Robo-Archaeopteryx

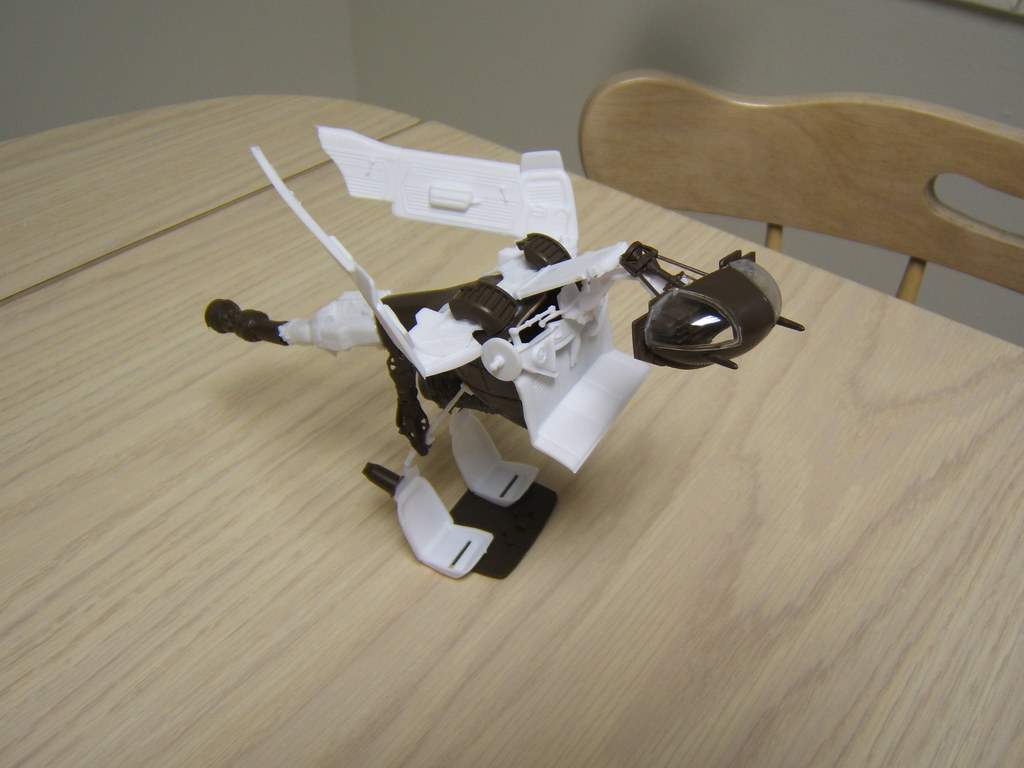
Though it's not complete yet, I figured this is neat looking enough to warrant making a post for now. My room mate got an itch to build a model of a P51-D mustang. He coaxed me into getting a model to make as well. I remember making a model or two growing up, but never got too into it since I always knew what I was going to wind up with in the end and they never seemed to give you much choice in variation. I was into Lego though since once you'd made what was on the box you could recombine it any way you liked. I wound up recombining the parts from a kit into some odd things, and figured this would be fun to do with the my models as well.

I got kits for a 69 Z/28 Camaro and a Huey Vietnam War era helicopter. I used superglue to hold it all together, setting out the parts and looking over them for things that might shape together. The times I've made models like this I've never been too sure what I was working toward at the start, and just started to put together larger pieces. What I wound up with was a bird-life thing that looks pretty similar to an archeopteryx, an early ancestor of birds. I'm still planning to add more detail and paint the whole thing, but for the moment it still looks pretty neat, so here it is. There are some more photos on a Flickr set here: http://www.flickr.com/photos/ironleg/sets/72157608803206197/

Tuesday, November 4, 2008

I Made a Bridge and Stairs


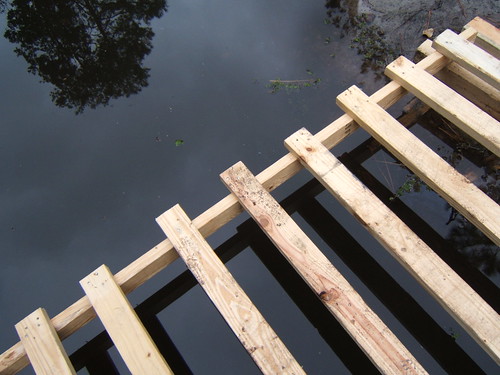
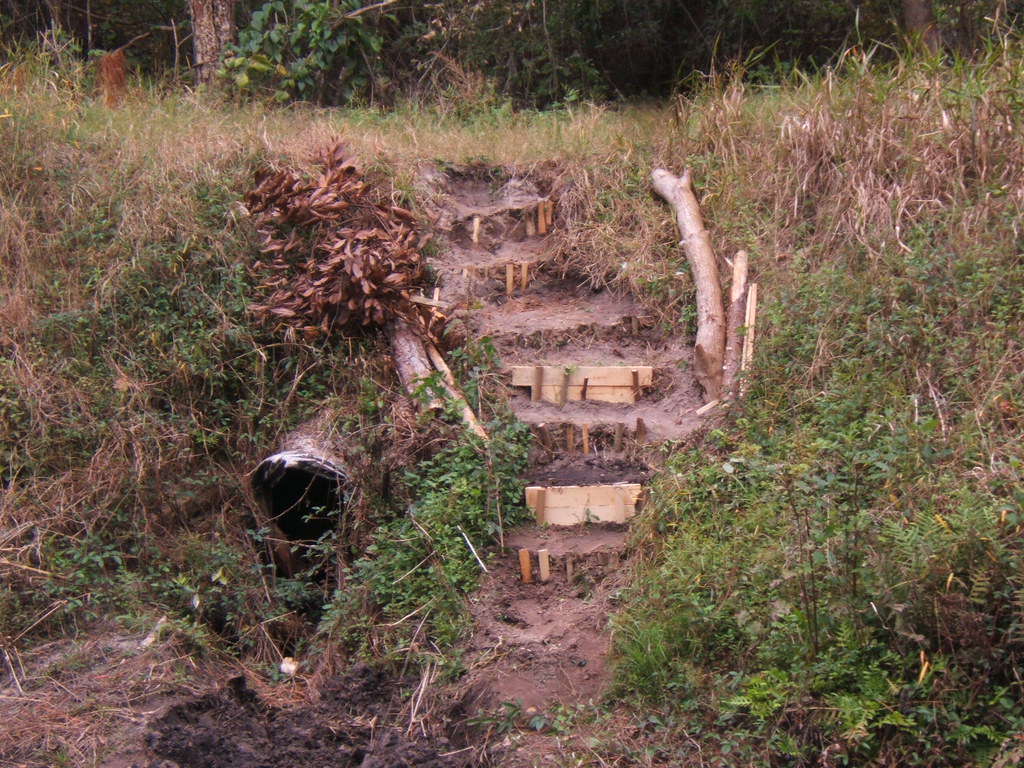
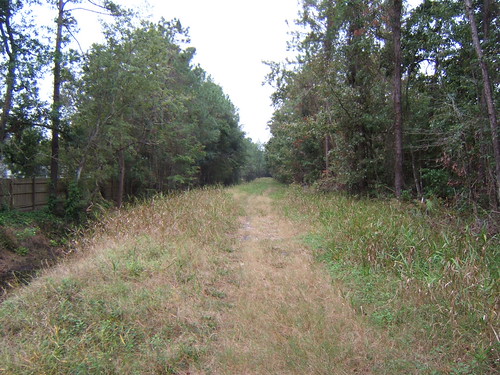
Yesterday and today I got an itch to go to the other side of the big ditch behind my back yard, but wasn't able to since the big ditch has about a 12ft wide stream in it with little fish and frogs and all. I manages to score some nice 2x4 lumber and fashioned myself a bridge to cross the gap. It's pretty self-explanatory; two 12' boards on end toenailed to the 4x4s they're sitting on, then planks of 2x4 over those for the deck. On the other side it turns out there's a fire trail that runs about a quarter mile in one direction and about 3/4 mile in the other, with trails to the side leading into the woods. It's a good place to go exploring. After making my little bridge though I decided the incline on the other side was too steep to keep scrambling up it every time I go over there, so today I made some stairs to make going up a little easier.

They're pretty simple, just start at the top, dig out the first step, shoveling the excess dirt down to where the next step will be, pound a line of steaks into where the face of the first step will be, then tamp down the ground in the first step and repeat for the next step. Filling in the backfill with sticks as well as the dirt should hopefully prevent some erosion, and for some of the steps I just put in a few steaks with flat boards behind them. We'll see which type fares better over time I guess. Make sure the steaks are about twice as long as the step is tall to give them plenty of room to hold into the ground without tilting forward.

I was thinking about making the bridge able to winch up onto my side so it's not abused or broken by someone, I might have to re-visit this if I do so. There are more photos over on this Flickr set.

And one more thing. It's November 4th, GO VOTE AMERICA! THIS IS SERIOUS BUSINESS!

Fixing a Targano Digital Microscope

 Tip for  It takes a microscope to fix a microscope. At work we have some Targano brand digital microscopes. They work well, and make a very...