Wednesday, October 29, 2008
I Made Some Halloween Stuff (on the cheap)
I haven't updated for a while because I've been moving into a new house, but now
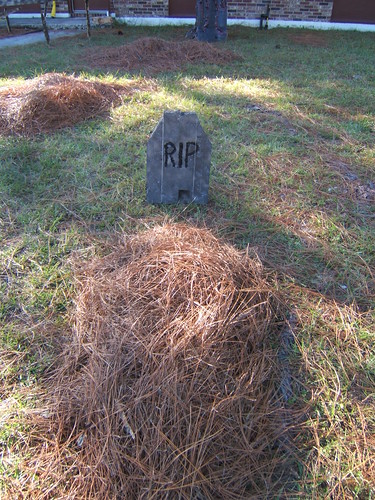
that we're moved in and I've got some free time with Halloween coming up I decided it was time to make some decorations. I've got more details over on Instructables. A giant spider web, spooky fence, grave stones, and a dead guy made of expanding foam await you here if you dare. The whole thing was done on a shoestring budget since I'm not one to break the bank for something that'll be up under a week. Enjoy, and Happy Halloween!
Thursday, October 23, 2008
I Made a Skeleton With a Scandanavian Accent
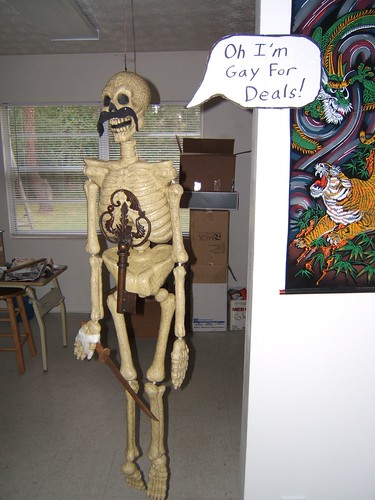
With Halloween coming up and my roommates and I hosting our first ever party, we were looking to do some decorations. I got one of those plastic skeletons in a box, but he was pretty generic other than a rather happy look on his face. Is it a face? I'm not sure. His mandible looks happy at least. Anyway, this reminded us of the key holding skeletons from The Legend of Neil. The other day Bri (roommate and Daniel's girlfriend) got a rather large metal key, with no specific purpose for it in mind. As we had the skeleton though and it seemed to remind us of the show, we remembered the key and decided that he must have been a snarky, murderous, and Scandinavian skeleton who was "gay for deals".
Anywhichwhats, It's a plastic skeleton, a piece of shirt sleeve nailed on as a mustache, a wooden sword taped to his hand, and a hook holding the key in place with a cardboard word bubble. We're debating whether he's a halloween fixture or more permanent.
Saturday, October 4, 2008
I Made My Niece and Nephews Have Fun, and Make Things
I feel it's my duty to pass the spark of taking things apart, hoarding random interesting bits of things, and fixing things that others would simply toss to the next generation. Since I don't have kids of my own yet to pass this trait onto I practice on my brother's kids and their friends. To their friends I'm usually introduced to their friends as "uncle Ronnie, the one I told you makes all those weird things". I'm not sure how many kids I'm not the uncle of I'm uncle Ronnie to. It's kinda cool.
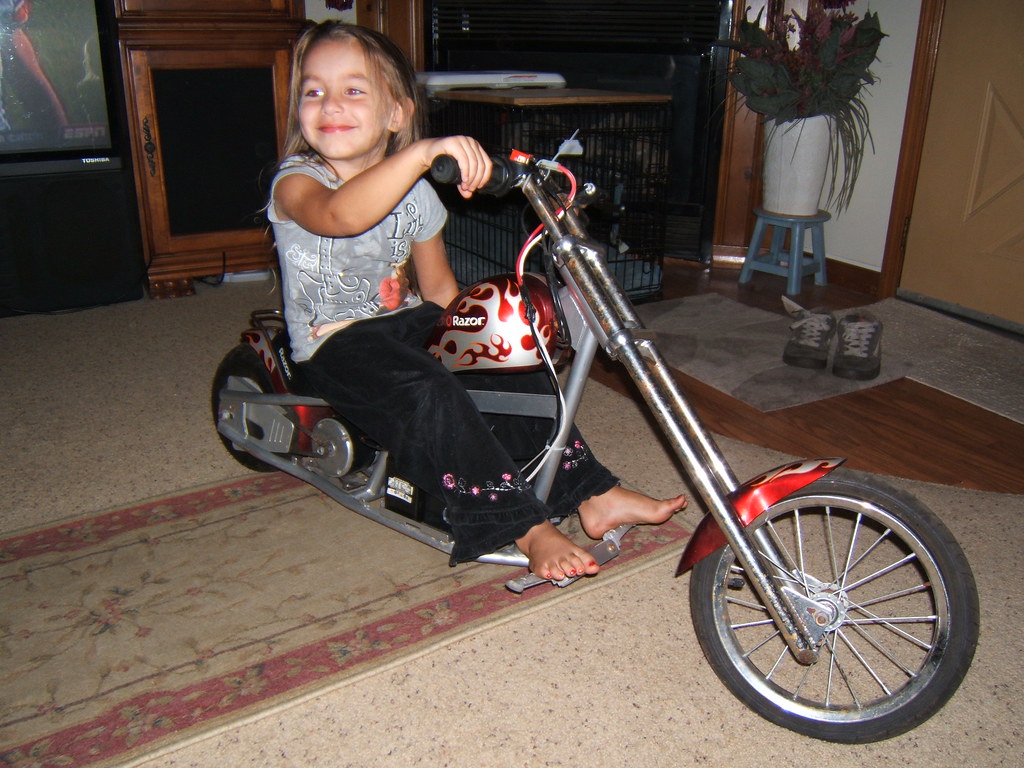
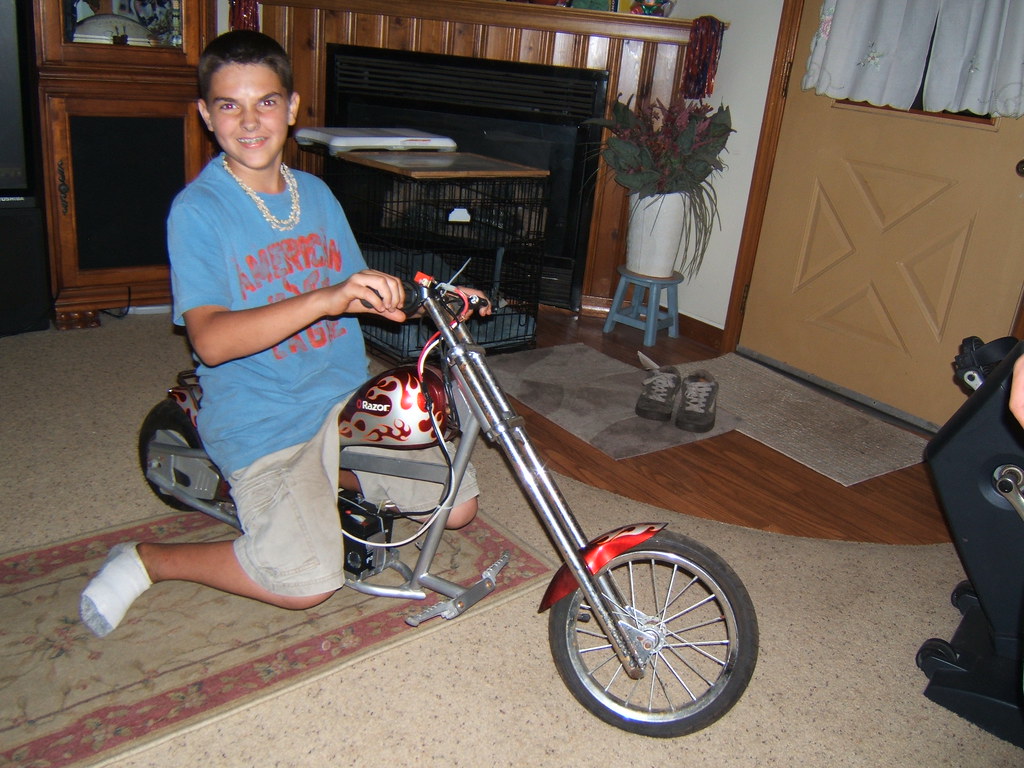
Anyway, on the way to work today I picked up a Razor electric kids chopper from someone's trash. The speed controller and batteries were long gone, but those are always the first things to die in these cheapie kids' rides and the drive train was still there. When the yung-uns came over this afternoon and saw this they wanted to know immediately if I could make it work and if we could do so before they left. It was already kinda late, but when my youngest niece came in and asked I couldn't say no. So I set them all to work helping to get it functional. My nephew holding wires and helping solder, his friend grabbing, stripping, and cutting wires, and my little niece testing that the beefy power switch made it go once it was all together. I use
We aired up the front tire with my air compressor, grabbed a flashlight for a headlight, and they rode it up and down the dirt road a few times on whatever power the batteries had. They had fun and I also got the chance to teach them about basic electronics, soldering (using my 40 year old 200w soldering iron), the precautions to be taken with big batteries (after shorting together the batteries in loop), and they were really having a good time trying to beat the clock and bring the little chopper to life. It's a squirrly little ride that ought to be on paved cul-de-sac rather than dusty dirt road, but it's fun none the less and I think they had more fun getting it running than from actually running it. We'll see if that changes when I get the batteries to full charge.
I Made an Air Compressor Work Nicely
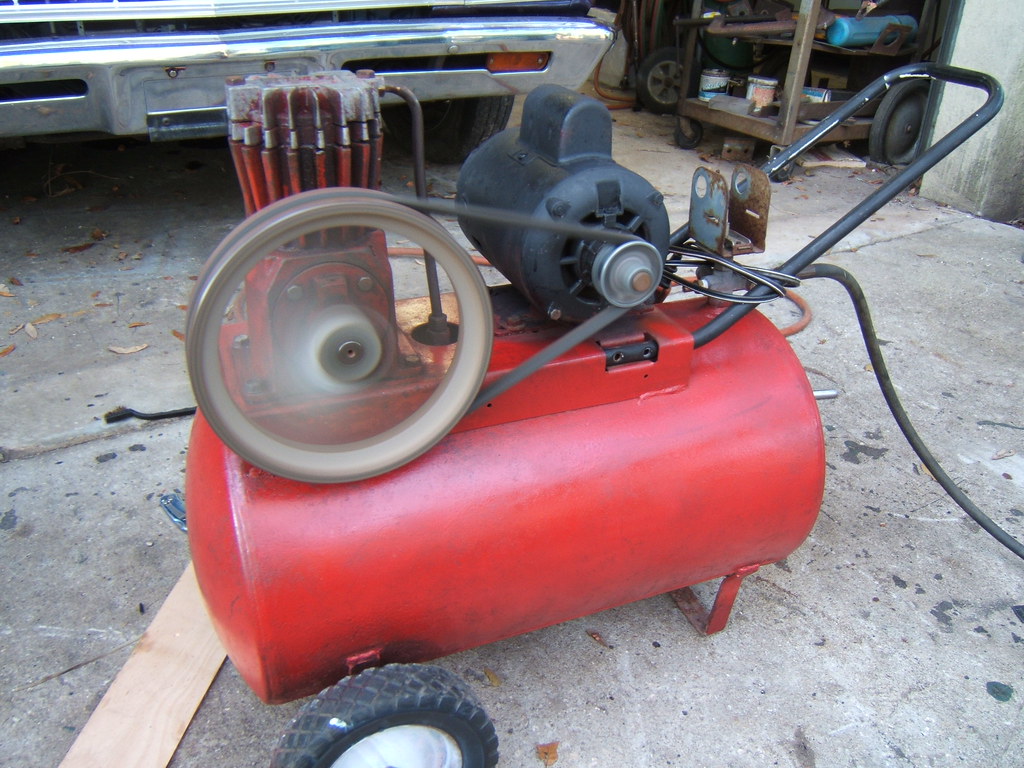
I picked up an old air compressor that had seen better days from my brot
her a couple days ago. He'd gotten a larger permanent setup going and didn't need his old beat up compressor so I get the hand-me-down. Cool :)
When I asked what was wrong with it the list was along the lines of "something with the wires, it has a leak, and the gauge is broken." The pressure switch was also MIA, the belt has seen better days, and the whole thing looked rough as a pine cone. Time for a tear-down and cleaning.
I started by running it to figure out the problems since it did run if very poorly. The wiring was a lamp cord wrapped around the motor's terminals, the leak was from the compressor's leaf valve and from the copper feed to the tank, and the guage worked but was way off and sticks on 20PSI.
I took the head off the compressor, revealing a sludge in the piston chamber, as well as all over the two reed valves. Cleaned those up well with degreaser and a razor blade on the reeds, put it back together and it didn't leak there (and added about 10cc per cycle due pumped to no
t being full of sludge. I tried sealing the bad feed to the tank, but had to cut it shorter and put a new faring on the line, which solved that problem. I trimmed the frayed strands from the belt, oiled the motor, and attached the wires with proper connectors. With this done, I decided to check the crank case oil. This was a scary sight, as there was enough water in the oil to turn it a milky grey, and it was so old when I drained it most of it slowly plopped out for several minutes like grey snot. New oil in the case and it sounded happier while running. For now I'm testing pressure with a shrader valve and tire guage, unplugging the compressor around 100psi. After tightening the wobbly wheel up, I wire brushed the whole thing and painted it up. I also added a handle to make it easire to handle from my small blue pressure tank.
That "ka-pook-ka-pook-ka-pook-ka-pook" of an air compressor is a nice sound. Especially when it comes from something that was otherwise destined for the landfill. I know it might look a little rough now but by comparison to when I got it it looks great and runs fantastic. I expect this little thing will keep me in inflated tires and filled potato guns for as long as I like.
When I asked what was wrong with it the list was along the lines of "something with the wires, it has a leak, and the gauge is broken." The pressure switch was also MIA, the belt has seen better days, and the whole thing looked rough as a pine cone. Time for a tear-down and cleaning.
I started by running it to figure out the problems since it did run if very poorly. The wiring was a lamp cord wrapped around the motor's terminals, the leak was from the compressor's leaf valve and from the copper feed to the tank, and the guage worked but was way off and sticks on 20PSI.
I took the head off the compressor, revealing a sludge in the piston chamber, as well as all over the two reed valves. Cleaned those up well with degreaser and a razor blade on the reeds, put it back together and it didn't leak there (and added about 10cc per cycle due pumped to no
That "ka-pook-ka-pook-ka-pook-ka-pook" of an air compressor is a nice sound. Especially when it comes from something that was otherwise destined for the landfill. I know it might look a little rough now but by comparison to when I got it it looks great and runs fantastic. I expect this little thing will keep me in inflated tires and filled potato guns for as long as I like.
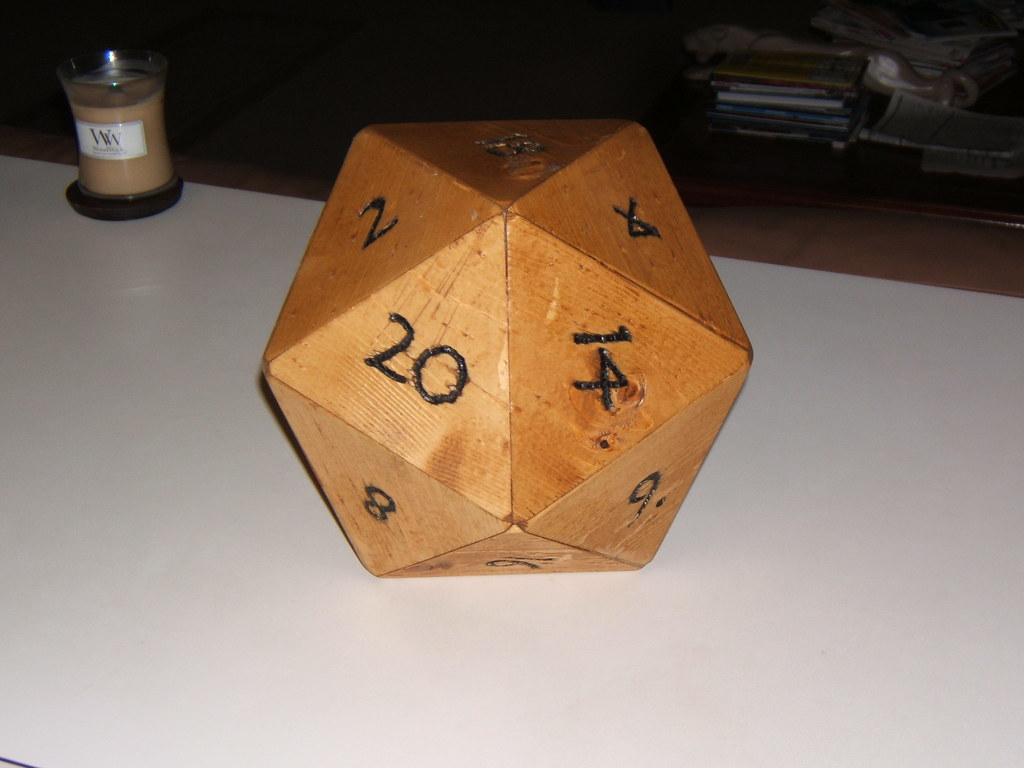
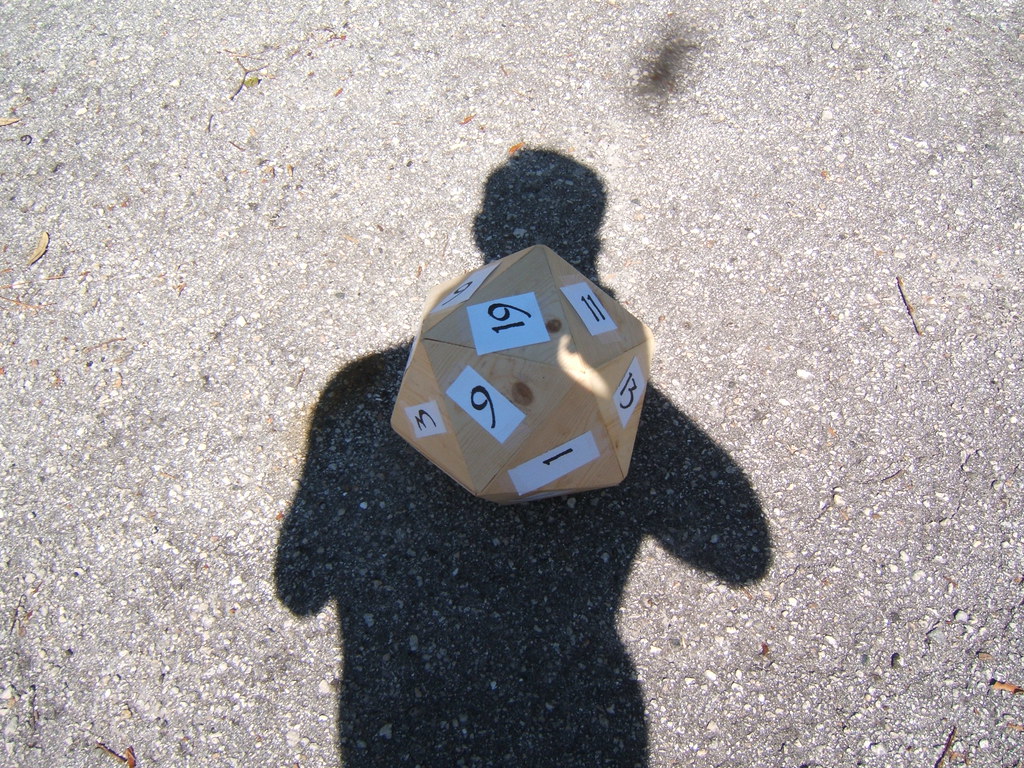
I Made a Really Big D20
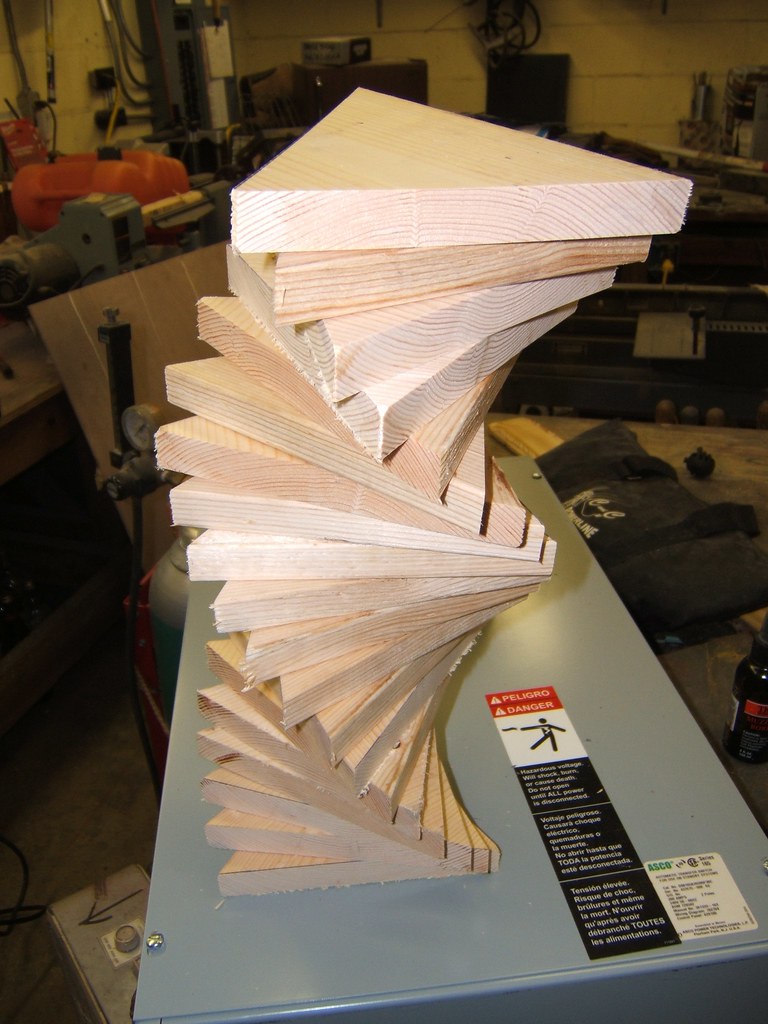
While showing a friend of mine some of the things I've made recently he asked me if I could make a big D20 (a
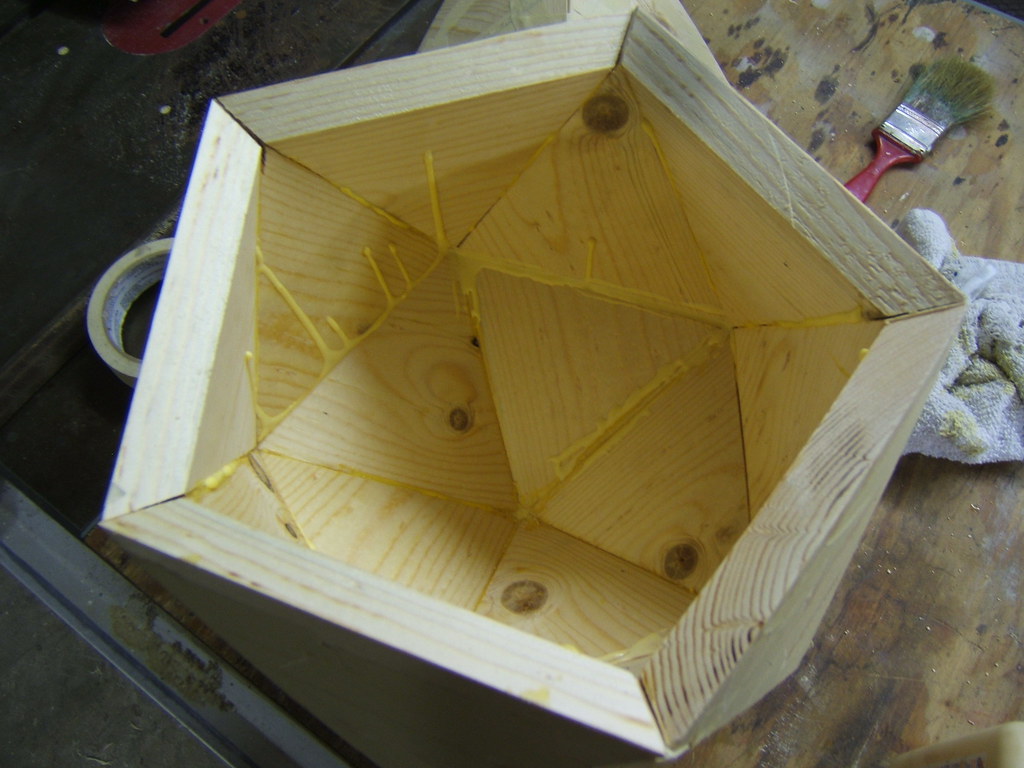
To attach them together used masking tape to put together 3 sections, the top, bottom, and middle belt, and used wood glue to hold it together. While the glue was still wet I put the three sections together, then balanced a weight on top to press the pieces together for a tighter seam.
The numbers were printed out, cut and taped in place. Then I used a square tip scr
Tuesday, September 30, 2008
I made some LP baskets
Since the dairy industry did me the diservice of changing the shape of milk crates to not hold LP records properly before I was born, I've never been able to just pick up a crate to keep my records in. The cheapo bins from Wal-Mart are fimsy and I wanted something better but didn't feel like messing with replacing the flimsybin enough to make something.
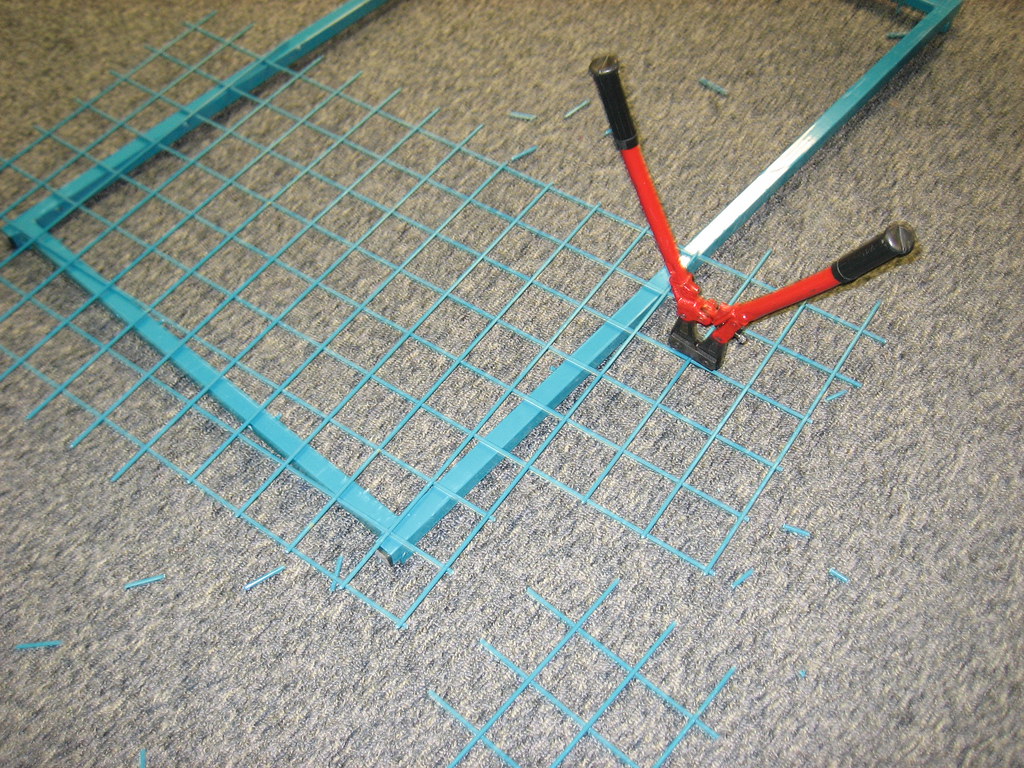
Then yesterday my stepmom mentioned wanting a bike basket after seeing my bike rack. I made one out of the same blue news stand mesh, 12" by 9". When I brought it inside and set it down by my record collection though I realized it was the right size to hold records. I had to make more of these to keep my LPs in.
The construction is pretty easy. Cut out a lopsided or even sided T with at least one dimension of the middle being 12". then fold, beat, and bang the sides up and into place, holding them down with zip ties for a little extra support. They turn out nice and hold about 50 records each. I made a full out Instructable here. It got featured on the Instructables homepage, kinda neat to have happen.
Since I commandeered my stepmom's basket (the initial one) I made a couple more so she'll still have one.
Saturday, September 27, 2008
I Made a Nice Rack
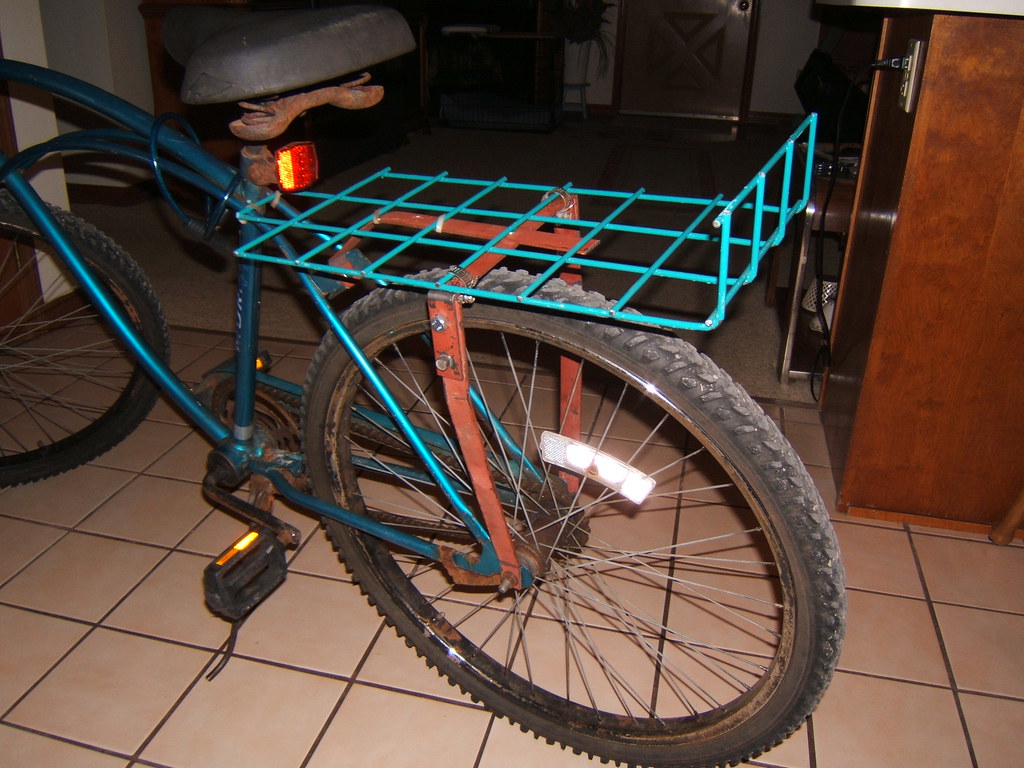
For about a
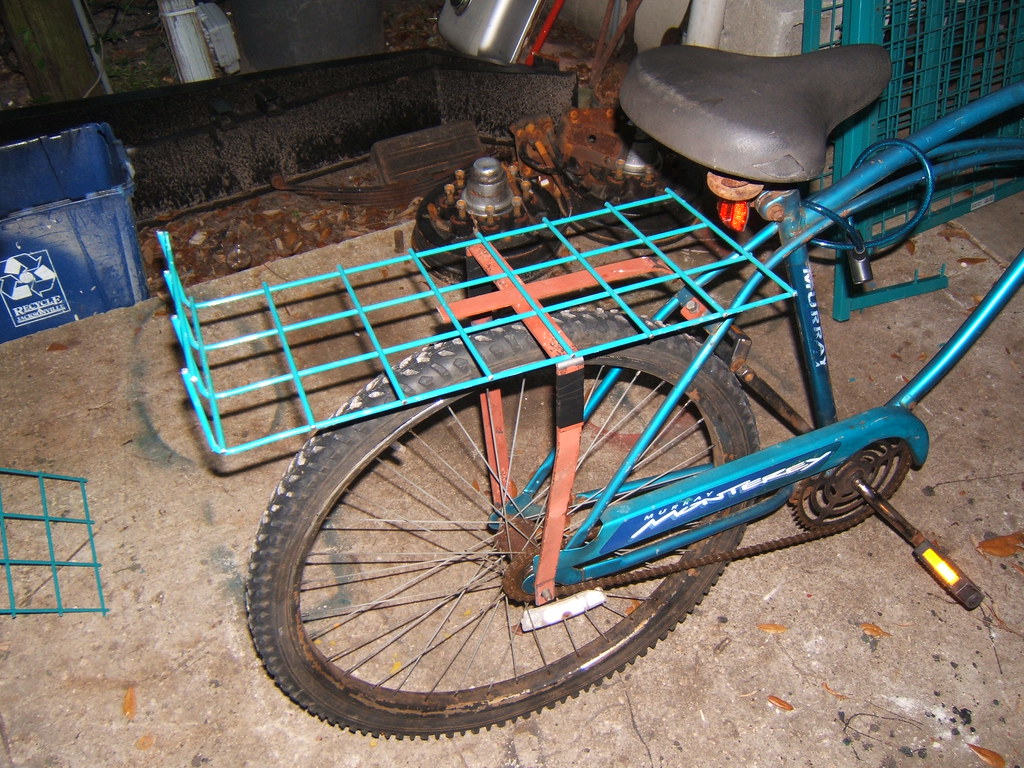
month I've been riding my trusty, rusty, occasionally crusty bike around wherever I can. Gas is expensive and the exercise is good for my knee. Only problem is while on it I didn't have any way to carry things short of a backpack. While that works pretty well it does put extra load on me, which got me thinking about this nice rack a girl at FCCJ had. Not that kind of rack. Her bicycle had pannier cages. Moving on.
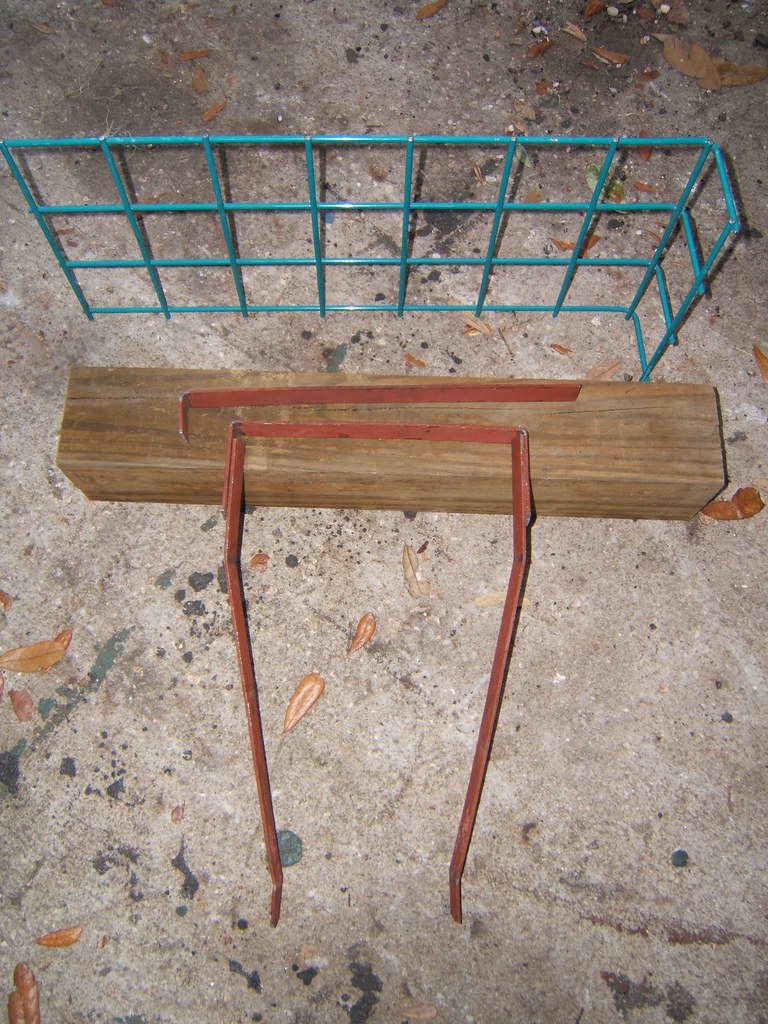
I went looking around and found the pannier style racks her bike had were too too big for what I usually need, and since I take great pride in the lacking looks, but smooth and easy ride of the bike, I decided to see what I could scrounge up. A little dumpster diving here, a little salvaging of some steel stock from my part of dad's materials junk pile and a handful of various mismatched nuts, hose clamps, and bolts from the garage and I had all I needed to make a bike rack.
The construction is pretty simple once y
ou free your materials form their donor sources. I used the vice to bang the upright arms, U base, rack deck, and frame support (my terms) into the shapes I needed, drilled holes in the proper places (all eye-ball, not a measured inch on the whole thing), then bolted and clamped it all together. I tell myself the totally mis-matched fasteners are there as a means of keeping it from being stolen since you'd need the better part of a tool set to
get the whole thing off of there. I had to cut a small chunk out of the front left and right since standing upright could let you bump into those parts, but this didn't impact carry capacity.
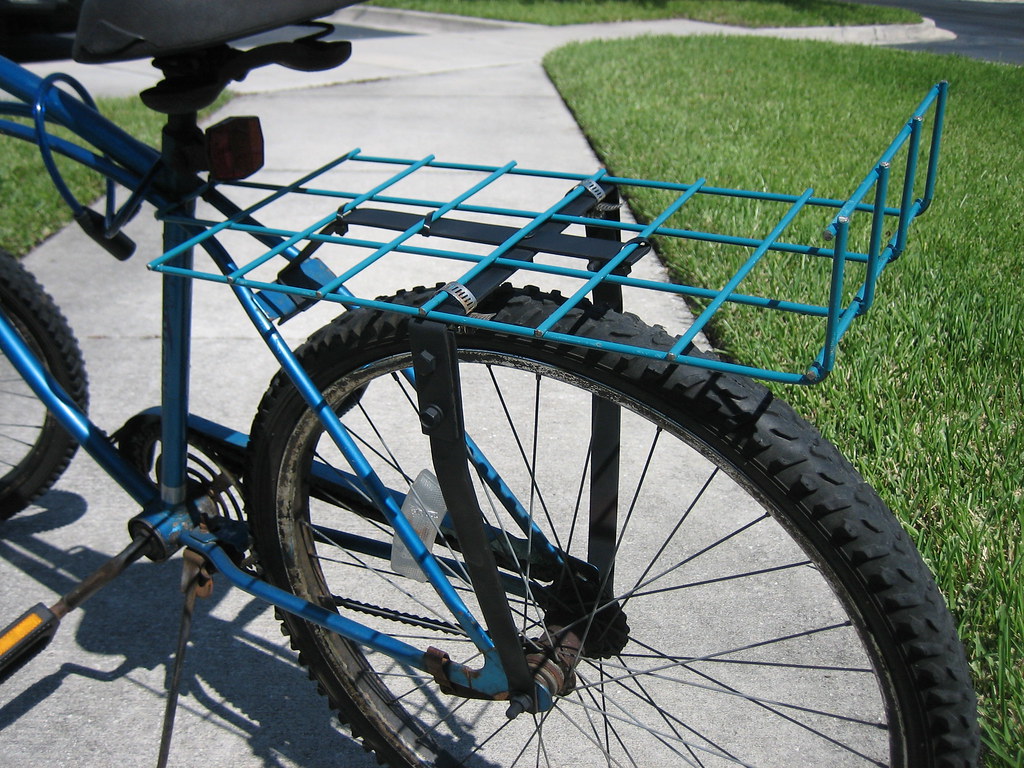
I'm very pleased with it and I'll probably give it a decent wire-brushing and a lick of paint when I get a chance. That or I might just leave it as-is for now.
Update 1:
I've gone ahead and painted the rack, it looks much nicer now and I've also made a pretty detailed set of instru
ctions for it over at Instructables.com
I went looking around and found the pannier style racks her bike had were too too big for what I usually need, and since I take great pride in the lacking looks, but smooth and easy ride of the bike, I decided to see what I could scrounge up. A little dumpster diving here, a little salvaging of some steel stock from my part of dad's materials junk pile and a handful of various mismatched nuts, hose clamps, and bolts from the garage and I had all I needed to make a bike rack.
The construction is pretty simple once y
I'm very pleased with it and I'll probably give it a decent wire-brushing and a lick of paint when I get a chance. That or I might just leave it as-is for now.
Update 1:
I've gone ahead and painted the rack, it looks much nicer now and I've also made a pretty detailed set of instru
Subscribe to:
Posts (Atom)
Easy and lazy reupholstery for a chair deserving better.
Freeside Atlanta is a place of many chairs. Some new. Some old. Some beanbag. Some fold. But there's been one among several that's ...
-
This is my brother Ricky: He's a year older than me and shortly after I was born he became epileptic. He's a genera...
-
Got this little 386 laptop from the Atlanta Historic Computing Society's free tables at their monthly meeting.It's an Acer AnyWare f...
-
A few years back BigClive did a great run of videos on the now ubiquitous Normal LED Bulb, how they're driven, how they're usually o...