small 110v flux-core wire welder and it's pretty handy for anything under 1/4". Anyway, after my dad giving me his old spare set of welding gloves and an old welding mask I struck some arcs and gave it a go.
A few years ago dad ha
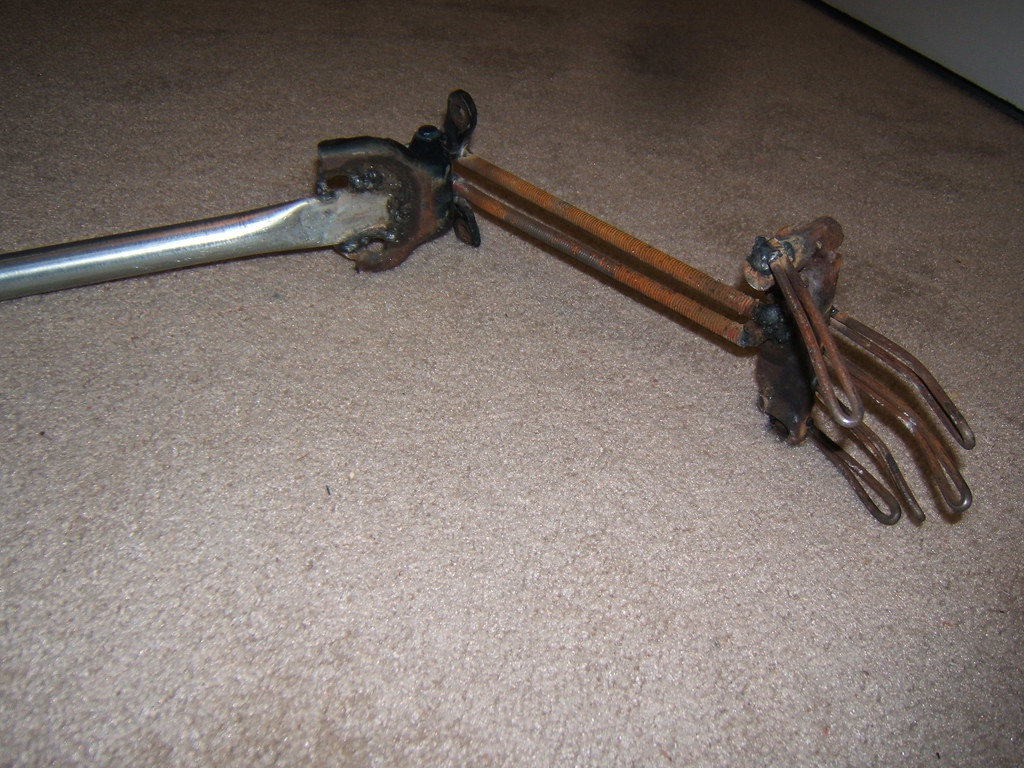 d me try welding on a small trailer that needed some work. The results were a "porcupine" of welding wire as he put it, so I figured I'd have to do better this time. After getting a feel for making a few beads on a piece of scrap and burning my name through a piece of thin sheet metal, I decided to try something more substantial. Taking a pile of steel scrap I had around, I fashioned it into an arm that moves at the elbow. While half-way through working on it my roommate ordered pizza and I had to go sign for the it. The delivery guy almost fell over when I walked up with the mask, welding jacket, and one glove still on.
I also made a small metal bracket from some political yard sign metal (the
 same as the fingers on the arm) for my room mate so his new air filter can bolt up properly and not wear holes int itself. it's pretty much just a rod with a loop on each end welded so a bold could go through.
Once I'd finished the arm and bracket I felt more confident with my welds not falling apart, so I gav
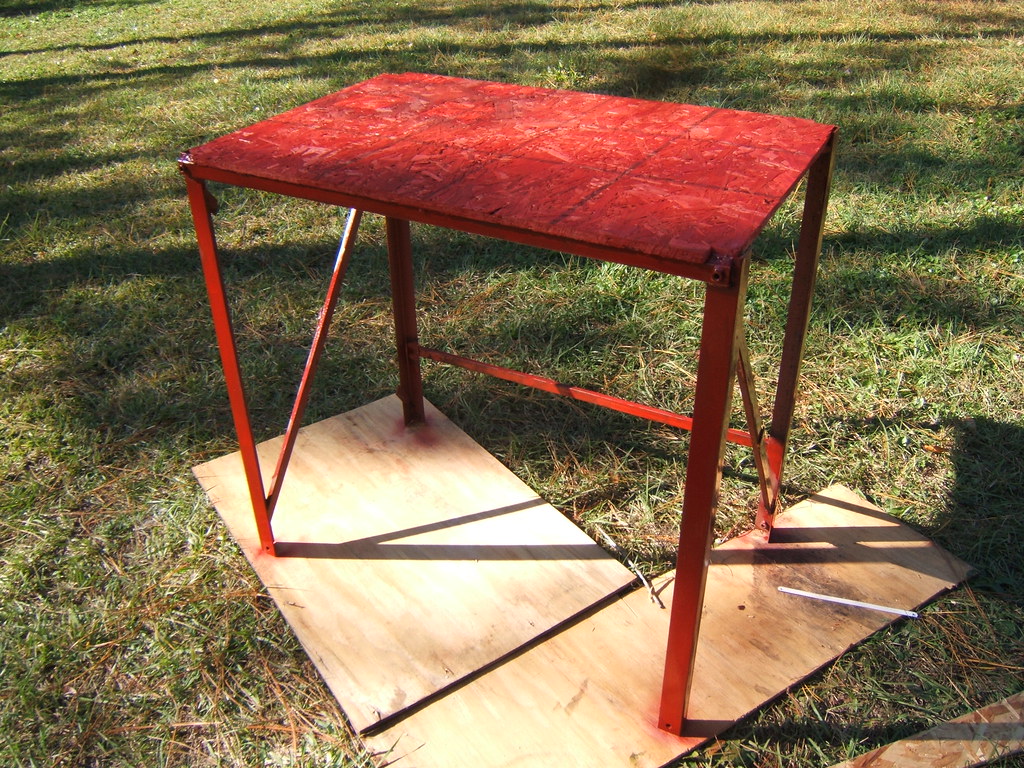
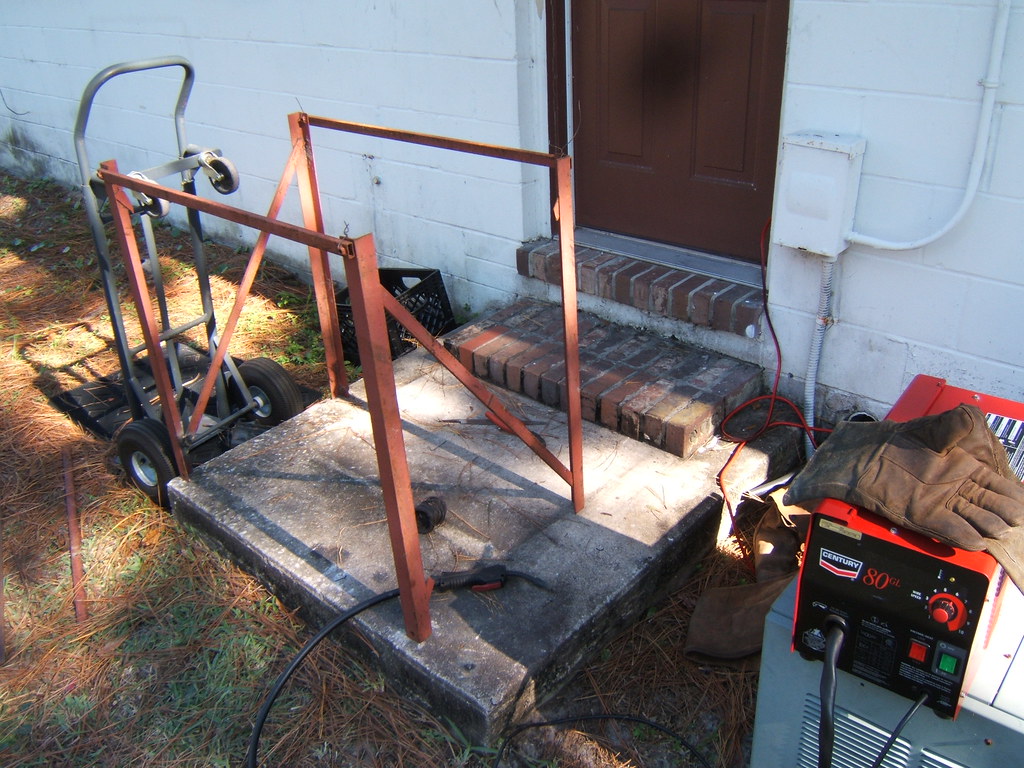 e a shot at making a work bench. It's made of some metal shipping crate frame that I held together with baling wire while I tacked it together. It's pretty self explanatory to look at it, and sits pretty solidly, but I wish I'd had a magnetic square, as the corners are nowhere near square. Ohh well, it'll still work nicely. The table top is just chipboard and I painted the whole thing so it won't rust or peel too badly. I'm probably going to make it so I can bolt my Skil-Saw to it and use it as a table saw. I'd also like to get a vice mounted to it as well. At the moment the whole thing is just holding up my