 das to the land of the rising sun? Me neither, but after noticing some odd raised wooden sandals in a couple TV shows worn by characters from such a time I looked into it and discovered "geta". Geta is the name of wooden Japanese sandals which are traditionally made of wood and are raised on two blocks (called teeth or ha). There was a time when the streets of Tokyo would have been alive with the clacking of people doing their thing in these shoes, and there are stores from elders who have fond memories of the din of people walking about in these.
There are tall geta for when it rains, different designs for men and women, and many variations from simple to elegant. I never knew I'd get so interested in a pair of shoes but here I am. I decided that it would be neat to have a custom-made pair of geta and when I stumbled into an online calculator for the measurements you need I printed out my measurements and the printout sat in my school folder for some months. I pulled it out yesterday though and went about getting a pair made.
They're a pretty simple piece of footwear to look at them: flat rectangular sole, two ha and a cloth thong to keep it on your foot. As with many things though the devil's in the details. The distance from the front ha to the tip of the geta gives you the lean your foot needs in stride since the sole doesn't bend with the foot so this measure is important, as is the height of the ha, width, length, and placement of the thong. With normal flip-flops, the thong is placed where the big toe is, but it's in the middle on geta. This lets it shift to the side while walking and keeps the square backs of th
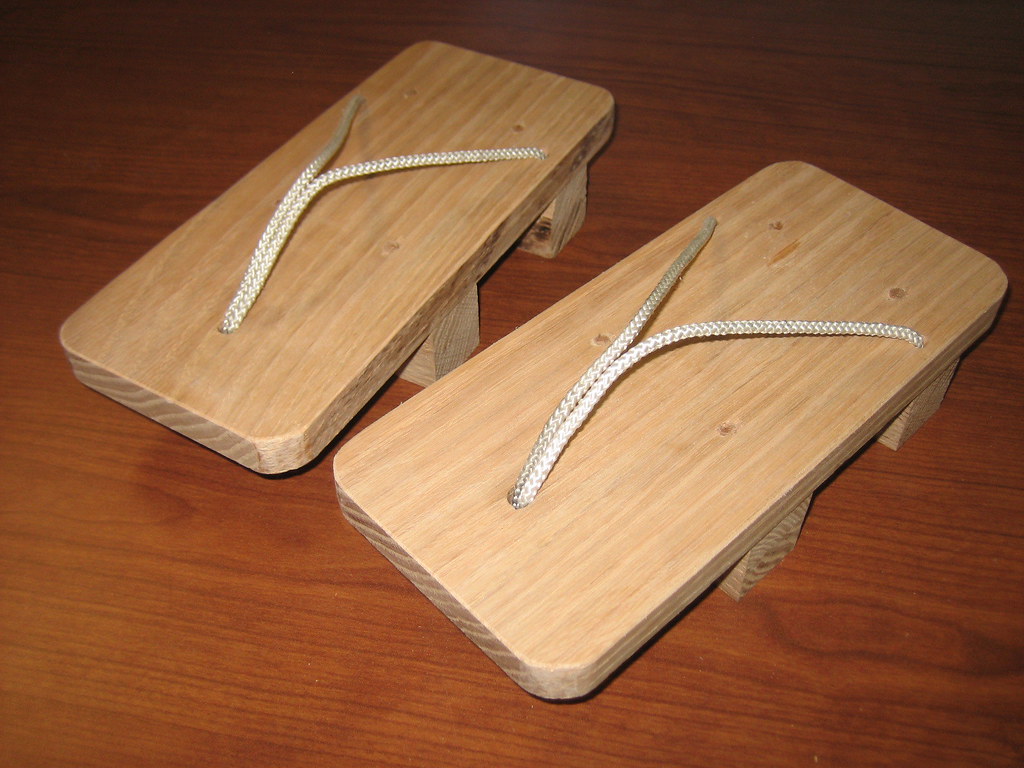 e shoes from hitting one another with each step.
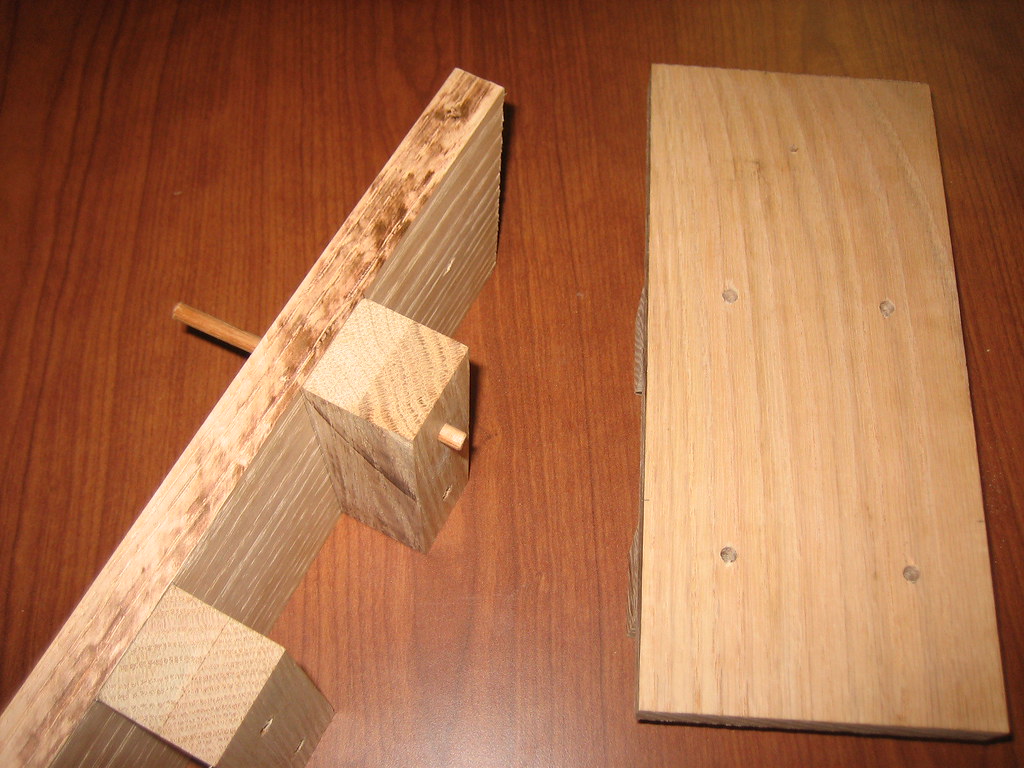
Anyway, on to the pair I made. They're red oak, cut to size and glued with 1/2" red oak dowel drilled and glued into ha and sole to firmly tie them together. The thong is made of nylon rope core for strength. If I make any more it will be with a 1/2" sole since the 1" red oak sole is much thicker than needed.
I made an instructable detailing the whole build so check it out if you'd like more detail on how to make a pair.
